Showing posts with label Baby. Show all posts

Saturday, July 16, 2011

Make the cut!

It's so sad to see those soft baby locks go...


Even
if when you have photographed evidence that the time has come like this...

Clearly I have a history of waiting just a tad too long to make that infamous first cut

See what I mean??

Don't believe me?

Well go on then... refresh your memory with this rag muffin's before shots!?


Everyone loves to say "Look at all that hair!! Oh just you wait, that hair'll fall out before you know it"


Nope!

Not with my little hair balls.


It just grows and grows until Mom takes matters into her own hands.


Which sometimes has turned out pretty stylin'

And other times...


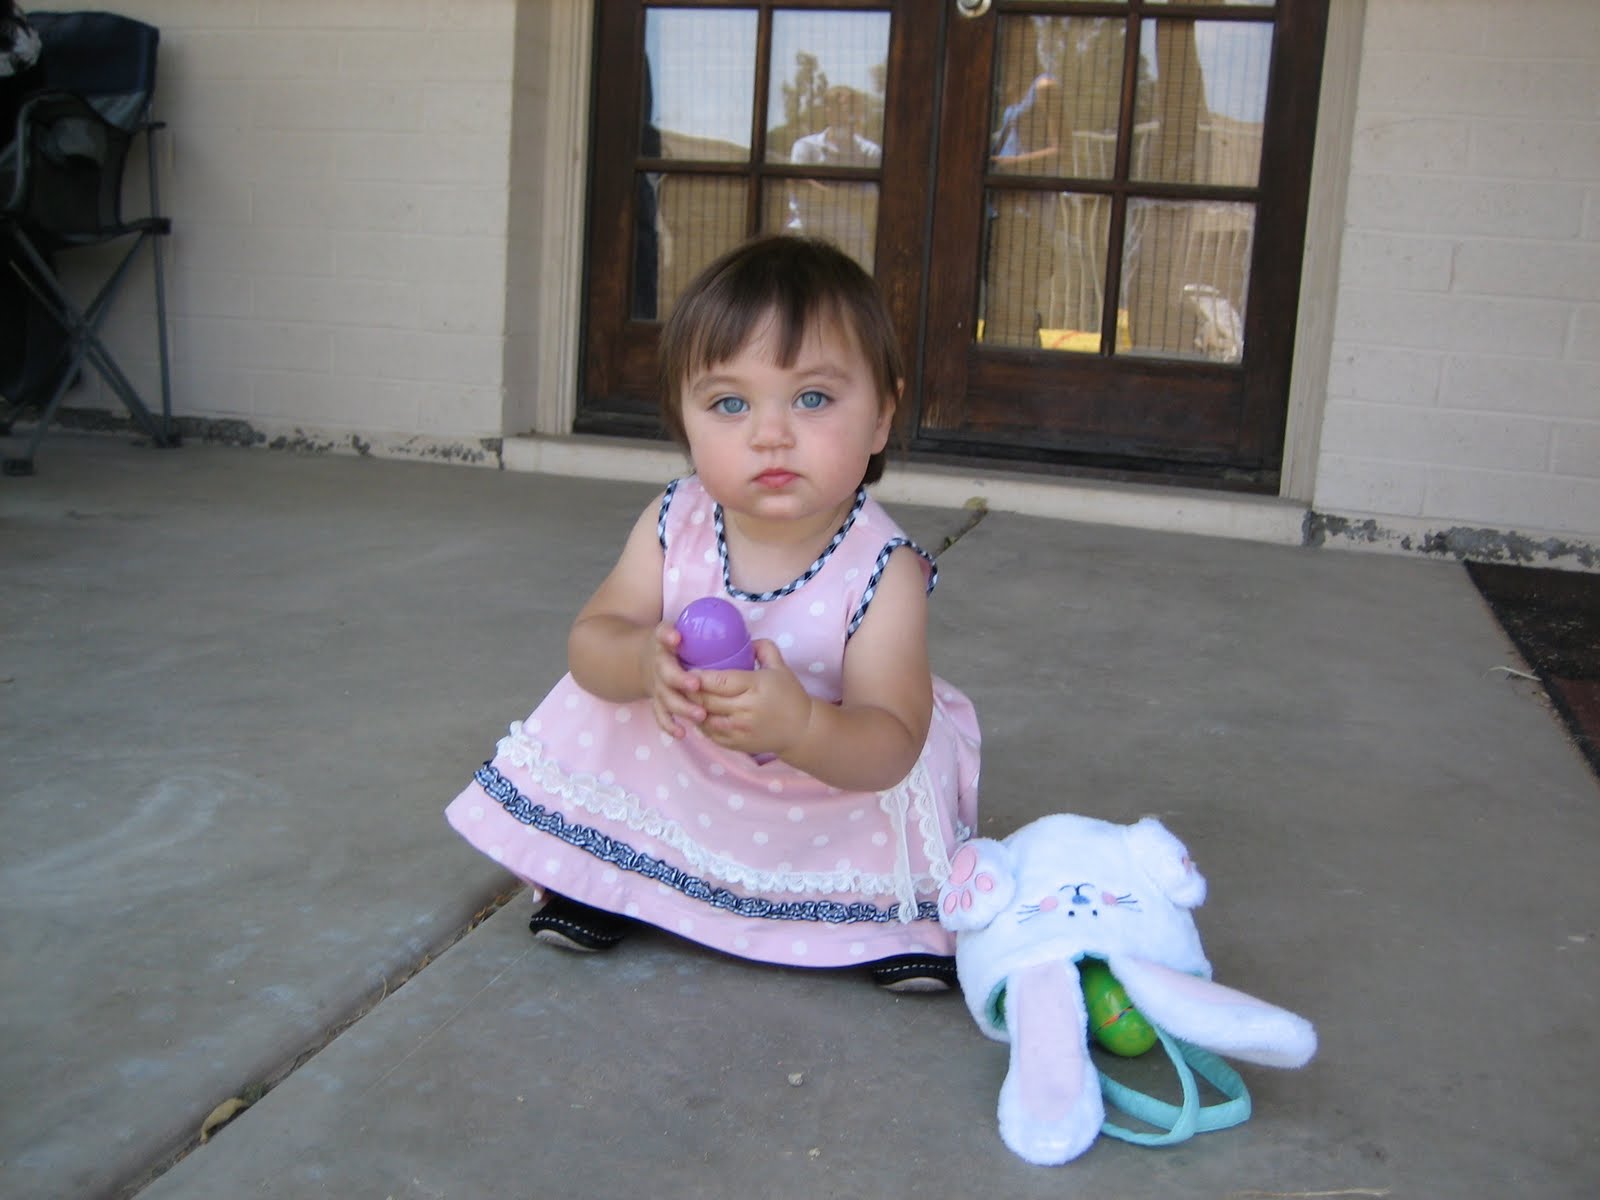
Yeah, I know Sweetheart, I'd have a pouty face if my mom cut my bangs like that too...

She got used to it.. which is a good thing, because we're still growing out those few months of Audry Hepburn baby bangs.... 2 years later... esh...


Understandably, I was determined to get things right with my third little birdie!

Which is why for his 3 month birthday weekend, this little piggy went wee, wee, wee, wee all the way to the barber's bumbo!


As usual, he was such a good sport about it.


He just quietly sat in the Bumbo happily drooling while I pretended to finally know what I was doing this time

But when I said "ALL DONE!!"

I think he was still a little dubious....

"Are you sure I don't look silly??"

After all he had seen pictures of my first 2 victims

Don't worry little guy!

Once he caught a glimpse of his handsome mug he was all smiles!


Cheeky cheeky cheeks!!!


Yes, baby boy, your new style makes your cheeks look even fatter!

And to this Mommy says mission accomplished!

Tuesday, June 7, 2011

Pack N' Play Sheet Tutorial

It's looking like poor lil' number 3 will be stuck in the P n' P for a more than just the first few weeks here until his older brother cannot possibly safely be confined fit in the crib any longer ...

Soooooo I thought I'd start making this Pack n' Play business a little more cozy for the hopefully long haul ahead of us.

First thing's first, we need to get this baby bird some upgrades to the starchy Graco sheets to some softer ones while spending less than his college savings. Best place to look... my own linen closet!

Between the hubby and me we have tons of queen size sheets from our single days that just hibernate in our closet until the lucky day when guests come to visit. And even then, only the few and the fortunate get slept on. So I "borrowed" a few jersey sets to recycle into pack n' play sheets.

And it took me whole 20 minutes!

Which is about all the sewing time I have these days :)

Wanna try?

Here's what you need:
  • 1 yard of fabric
  • 36 inches of 1/4 or 3/8 inch elastic
  • Thread
  • Sewing goodies (machine, scissors etc)
  • 20 minutes


Here's all you do:

Step 1: Cut the fabric
A standard Graco Pack N' Play sheet is 26" wide x 38 1/2" long when it's all said and done, so if you don't have a Graco brand make sure to measure your standard sheets or actual pack n' play to be sure these measurements will work.

A few options:
  • For raw or serged edges cut the fabric 34″ wide x 43″ long
  • For hemmed ends cut the fabric 35″ wide x 43″ long
  • If using knit or jersey fabric like I did in this tutorial cut 1" smaller in each direction to account for the stretch.

Step 2: Cut the corners
Fold the fabric in half long ways and make sure the corners match up as closely as possible.


Mark 4″x 4″ squares out of each of the 4 corners and cut them out.


Step 3: Sew the corners together
Fold the corners of the corners together to make a diagonal edge with the fabric inside out.

Serge or stitch together with a zig zag stitch on your machine

Step 4: Finish the edges
I simply serged my edges since no one will see them, but since I know not everyone has a serger I made one sheet with hemmed edges to show you :)


Step 5: Attach the elastic
Cut 4 pieces of elastic each 9" long. Fold the 9" piece in half & mark the center

Turn the fabric inside out and line up the center of the elastic with the edge of the seam in the corner and pin in place.

Then you want to mark out 9″ from both sides of that point and pin the lose ends of the elastic to the sheet. Start sewing at the middle of the elastic on the seam.

Stretch the elastic from both ends as you go and sew the elastic to the sheet with a zig zag stitch then turn over and sew in the other direction.

It should look something like that when you're done.


Or, if you used the hemmed edges string the elastic through to the 9" mark and sew in place. Pull the other end to the 9" mark on the other side of the corner and sew in place.

Go ahead, that's all... try it on...

Tah Dah!

Now, you'll have to excuse me while I go snuggle with my favorite new born and that scrumptiously soft baby skin!

As close to Heaven as it gets here!


Tuesday, April 26, 2011

And now there are three

Meet our beautiful number three


I would've never believed you could fall in love this many times!


But I just can't stop myself from staring endlessly at those teeny tiny feet


Or touching his own little mane of dark brown hair


And gazing back at those big, blue, curious (and still with a hint of a deer in the headlight) baby eyes


And, oh, those perfect little lips!!


Apparently, I'm not the only one head over heals with this little guy...


Sienna is pretty sure HER baby came out of mommy's tummy last Sunday.


Whatever you do, do not try to tell her any different!


Baby Sebastian was born April 17th at 5:35am after 2 days of labor

That's right, 2 full days!!!
(They say your labors are supposed to get quicker the more you have... riiiight!)


He was our biggest nugget at 6 lbs 13 oz


My wonderful husband had a full week off work this time to help us get used to our new family of five, which was a dream come true for me in more ways than one! But it turns out that 2 days of labor and 3 kids under the age of 3 is tiring for Daddy too....

I came down stairs after a shower to this picture perfect babysitter :)

When I woke him up he was completely disoriented and had no clue how long he'd been out for.... oh, thank goodness for guardian angels....

and for all three of my precious babies!


Saturday, August 14, 2010

DIY hair cutting for the wiggliest wiggler

When your first son is born with a hair like this:
The choice is clear.

Salon hair cuts
or
College

I simply don't know how we could afford both for Mr. Goldie Locks!
I tried letting it grow for the first year like most sentimental, soft baby hair loving mothers would, but as I started looking back at pictures I realized that people were laughing at more than just the carrot face.

It was time.

I was no stranger to the clippers. I had been cutting Daddy Goldie Locks's hair since we started dating, but cutting a grown man's hair is nothing like clipping a wiggly, squirmy baby's fine little tendrils.
This was going take a bit of organization and lots of practice.... Now that I've had a few months worth of clipper cuts under my belt, I thought I'd share my "how tos" on the basic crew cut.


Materials
1. A basic clipper set
This set is from Walmart (about $30), which includes the clipper itself, a range of attachments from 2" down to 1/8", very sharp scissors and various combs.

2. Two different attachments for the basic crew cut:
A long attachment for the top and a shorter one for the sides and back. I use 1" and 1/2" for a short crew cut that gives me 3 weeks or more between trims. If the little guy has some curl to his hair or you want it long enough to play around with I would recommend 1 1/2" and 1."

3. A large plastic bag or towel to collect the hair as you cut.

4. A few special treats bribes to help your wiggler sit still.

Optional
An extension cord to leave you plenty of flexibility with the clippers and a pair of hair scissors to trim the neckline.


Are you ready?

Step 1
Before you open up the boxing ring for your long haired wrestler, take a few minutes to set up shop.

I like to do it in front of the mirror in the bathroom, because I found that both kids like to watch themselves and it's a relatively easy place to clean up. I also try to save time by laying out a big plastic bag to collect the hair underneath a bumbo "salon" chair for my small client.

Bumbo chair? Won't that be a squeeze? YES. EXACTLY!


Step 2
Plop the little fighter down in the chair with a bribe.(popsicles, lollipops, Mommy's comb??)

Step 3
A great first time tip I learned is to put a baseball cap on the munchkin just before you begin to give you an imaginary line to go off of. The bottom of the cap is just about where the longer length of hair will start moving up toward his crown.


Step 4
Start with the attachment for the longest length of hair you want on the top and buzz at that length all over the head. You'll want to start at the hairline and follow the direction of hair growth as you go.


(Please ignore the different outfits... Apparently, the white shirt was really bothering him, so I figured he was just going to learn to deal with some tiny hairs on his overalls. Teach that baby to tug on his shirt while I cut his hair! Humph.)

Back to work...

Step 5
Switch to the shorter attachment and start buzzing at the neckline, moving upward toward the imaginary line where the baseball cap rests on his head.
Gradually pull the clipper away from the head as you approach the imaginary cap line to help blend the different lengths.

Step 6
Carefully clip around the ears by bending them back. I use the scissors for this part, because it should be mostly touch up after you went around with the long attachment.


Step 7
My little blondie doesn't require too much in this department, but for the Big Guy's hair I use the clippers without an attachment to even up the bottom hairline and the sides of the neck after I'm done.


And you're done!


Let that good little man run out those wiggles!


Some more basic hair cutting tips:
  • Cut the hair vertically to avoid an obvious cut line
  • Section off longer hair before cutting
  • When cutting wet hair remember that 1/2 really shrinks up an 1"
  • Always cut hair when it's freshly clean
  • Don't be afraid to do it yourself! It'll grow back :)

Related Posts with Thumbnails