Showing posts with label Home Decor. Show all posts

Wednesday, May 4, 2011

Home-made with a smile

And a few desperately needed sunny shinny days
(or I should say not rainy days)

To motivate us to start exploring our new landing, which was greeted by easily the most adorable peddler dog in the world at the Portland Saturday Market complete with his own "smile" sign!

How could you not smile even as we watched the clouds start moving right back over our heads minutes later...

Rain or shine I decided that it was time to start home-making this place into a home!


So, grab your own cup of tea, take a seat and I'll give you a little look at our new digs!

Ding dong!

Come on in...


Don't be shy now!

Here is our lovely living room adorned with far too many pictures for the wall space...

but I've had a hard time cramming our already too full house in Phoenix into this smaller house in Portland. So um, yes, you'll have to just tell me it looks ok anyway :)


Exhibit 2 of cramming...

Turning our entertainment center into a dining room hutch...

We just took out the middle part and the TV and voila!


Wouldn't have guessed it would you?!

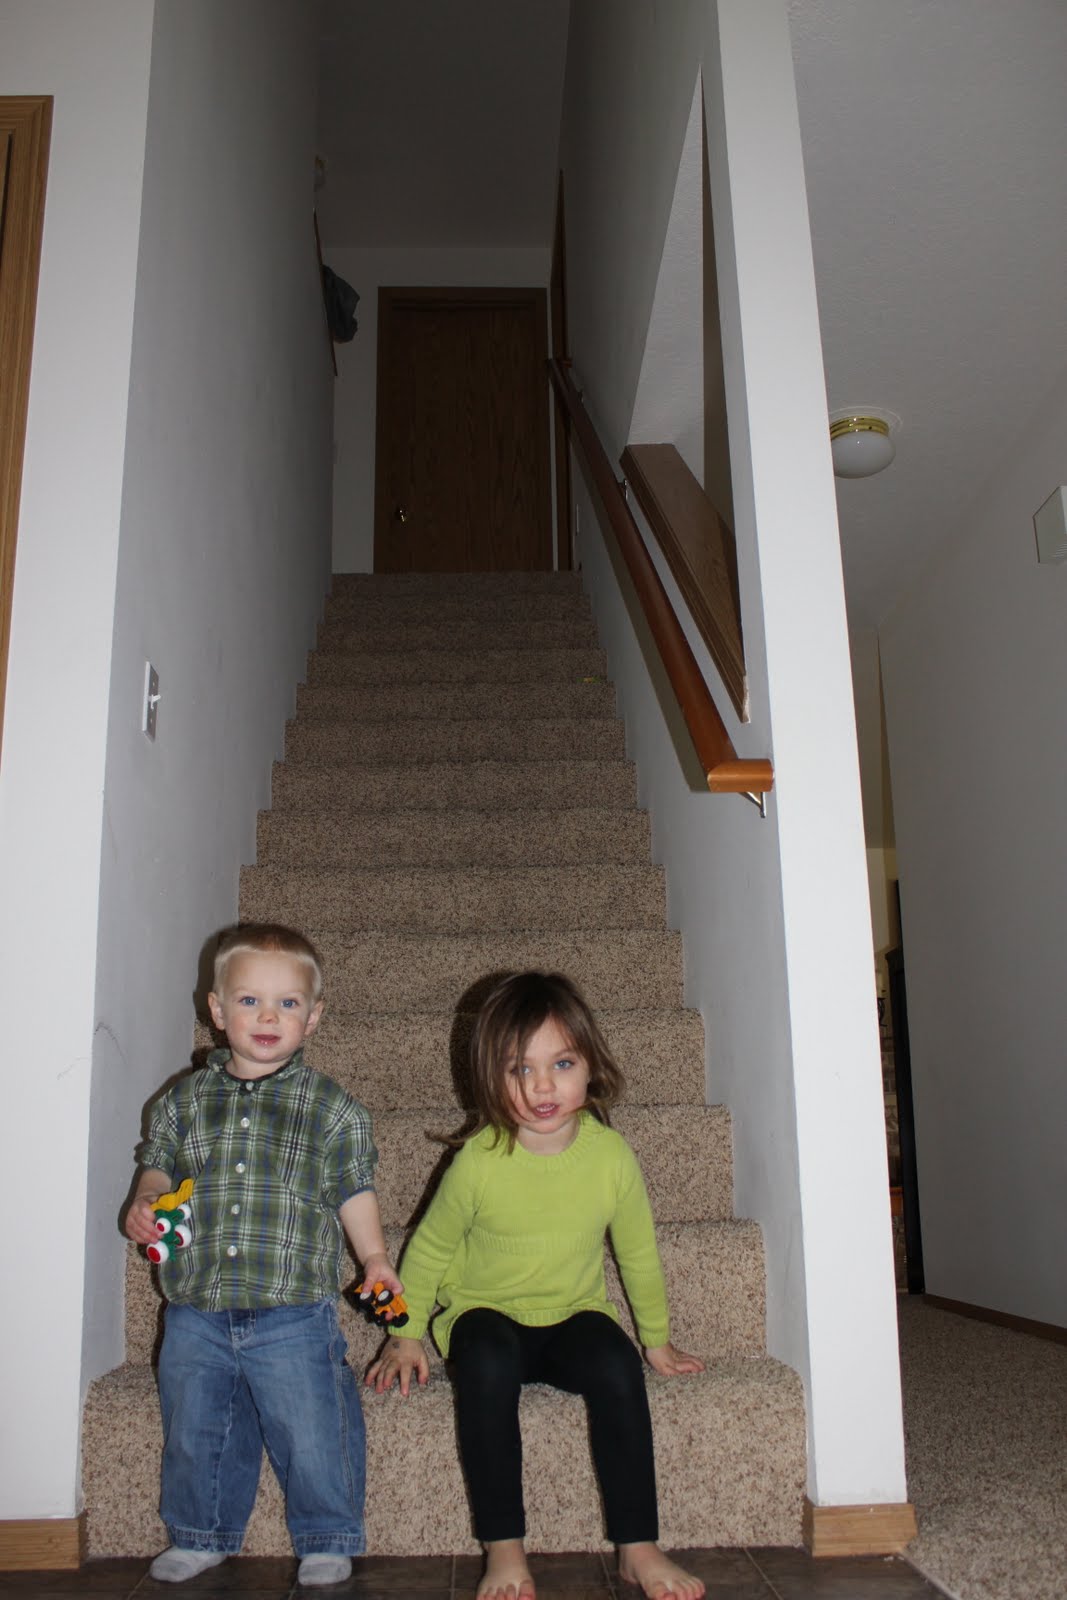
Then we have the much coveted, loved, played on and yes, fallen down STAIRS!!!

We've never had stairs in our houses before and the kids just love them.

Up those glorious stairs are 3 bedrooms, but my 2 most important critics voted best room in the house to be the special princess and prince charming room...

Don't ask what makes it that besides it's inhabitants, but that's what the kids call their room. Hey, if it gets them to go to bed there, then call it the Taj Mahal if you want to!

Along with the royal theme we've got going here, Sienna likes to tell me to go to sleep in my queen room after I tuck her in bed every night...

So, alas, our "queen" room.
(Apparently Daddy doesn't have any of his own rooms in this house...)

Even the back yard is claimed by the Great Window Streaker!

We wash windows a lot around here as you could probably guess...

But that shouldn't make Daddy feel too bad since my kitchen is no longer sacred space as our landlords "conveniently" designed it with bar stools directly in front of my main counter space....

Perfect for little diggers to sneak in a pre-taste or two while I'm cooking!


Another great part about this house are the beautiful green views we have out our windows.

I love Phoenix, heat and all, but you do tend to get a lot of cinder block views from first floor windows...

And last but not least, the most spectacular homemade home-making part of our new home:

Of course!

What else were you expecting?

Oh ok, the Welcome Home Mommy and Baby Sebastian sign Daddy made with the Sienna and Jonah was pretty spectacular too!


That's about as far as I've gotten lately with crafting and home making... but you have to admit that growing a baby while moving to a new city is no creative task to scuff at!

Tuesday, December 21, 2010

Monkey see, Monkey love

And do ya blame me?!


When I saw Jess's clothes pin Christmas wreath tutorial from Craftiness Is Not Optional it was a done deal for me!

This was so quick and easy I couldn't believe it. I literally sprayed the pins while my kids played outside and they even helped me string the beads on the wire. This could be a great school craft project for kids to give to their parents... hum.... file that one away in my mental note box!


I did a few things differently than Jess, like spacing out the pins with 2 instead of one bead so the cards didn't overlap as much. I also didn't bother gluing... I might see why later, but it seemed to stay just find without it??

Hers looks fuller and a little better to be honest, but I didn't know how else to fit all these wonderful Christmas cards!


Speaking of which... I have a secret confession that I can now confess because it's completely a thing in the past....

I hate used to hate Christmas cards.

WHY?

Why would anyone "hate" Christmas cards.

One word:

c.l.u.t.t.e.r


What do you do with all those
lovely cards that collect in your "too nice to just toss out" pile?

Now I know!!!!!

And now I keep checking the mail obsessively hoping that we'll get more and more of them.

I love them so much now that I even, for the very first time since we've been married, sent out Christmas cards of our own with this cute Grinch smile from Sienna!


See :)

And because it's just me, I simply had to write a little poem to go with it.

Wanna read that too???

Of course you do or you would've stopped scrolling!


Twas a month before Christmas,

when all through the house not a Da Da was stirring, where was my dear spouse?

His boxers were hung by the laundry with care,

In hopes that I’d wash them for when he’s next there.


The children were nestled all snug in my bed,

While visions of sanity danced away from my head.

Two days had passed since he went on his way

to a new job in Portland, here with the children I stay.


When out on the lawn there arose such a clatter,

I sprang from the very far edge of the bed to see what was the matter.

Away to the window I flew like a flash,

To see a For Sale sign nailed down with a smash!


The bump on my belly of a new baby bro

Gave the lustre of change, much more than we know.

When, what to my wondering mind became clear,

that we’ll have 3 under 3! Oh me, oh my dear!


With a little walking Jonah, so lively and quick,

He’s all boy for certain, rough, tough and quite slick!

More fun with Sienna as she grows faster each day,

She tries hard to mirror mamma in every single way.


“No Sienna! No Jonah! Now Children please listen!

To sell this big house each corner must glisten!

To the park! To the zoo! Let’s get out of this place!

Can I do it? I must! Oh where’s my poker face??


And then, in a twinkling, I heard a small voice.

Your family and friends will help you;

for this just rejoice!

As I drew in my head, and wiped a small tear.

We have beautiful children & lots of reason to cheer!


So thanks to you all for the love and support,

We’re sad to leave Phoenix, our time was cut short.

But knowing the friendships we have just won’t end

A visit to Portland, may we subtly recommend???


You see... we have some big changes to announce this year, and you know, this Christmas card thing was a pretty convenient way to spread the word!

Thanks Jess for changing my heart about Christmas cards and for the great tutorial!


P.S. If you read this and think "HEY! Why didn't I get one this year? Well... this is my first year and I drastically underestimated how many I needed to order, so actually, only a very select few got them this time around. BUT, rest assured... there will be more. Oh yes, there will be more!

Monday, August 30, 2010

Formally known as the bathroom remodel


....is now our fancy new bathroom!Ok, maybe fancy is relative here, but I assure you few elmo faucet protectors have ever seen such labors of love.

Sienna is also quite proud of

"my bathroom Daddy made Sienna"

and demanded that wanted her stool to be in this picture. It's the wrong green, but hey, it's a small request for a recent potty trainee who had to relearn where to use the potty just when she thought she had it figured out during our month (yikes) of construction time....

I know I promised an unveiling on Friday, but at the last minute we decided to put molding around the window and order new blinds for it. So we spent Friday and part of Saturday rushing to wrap that up too. I guess when you're on a roll you might as well keep on!


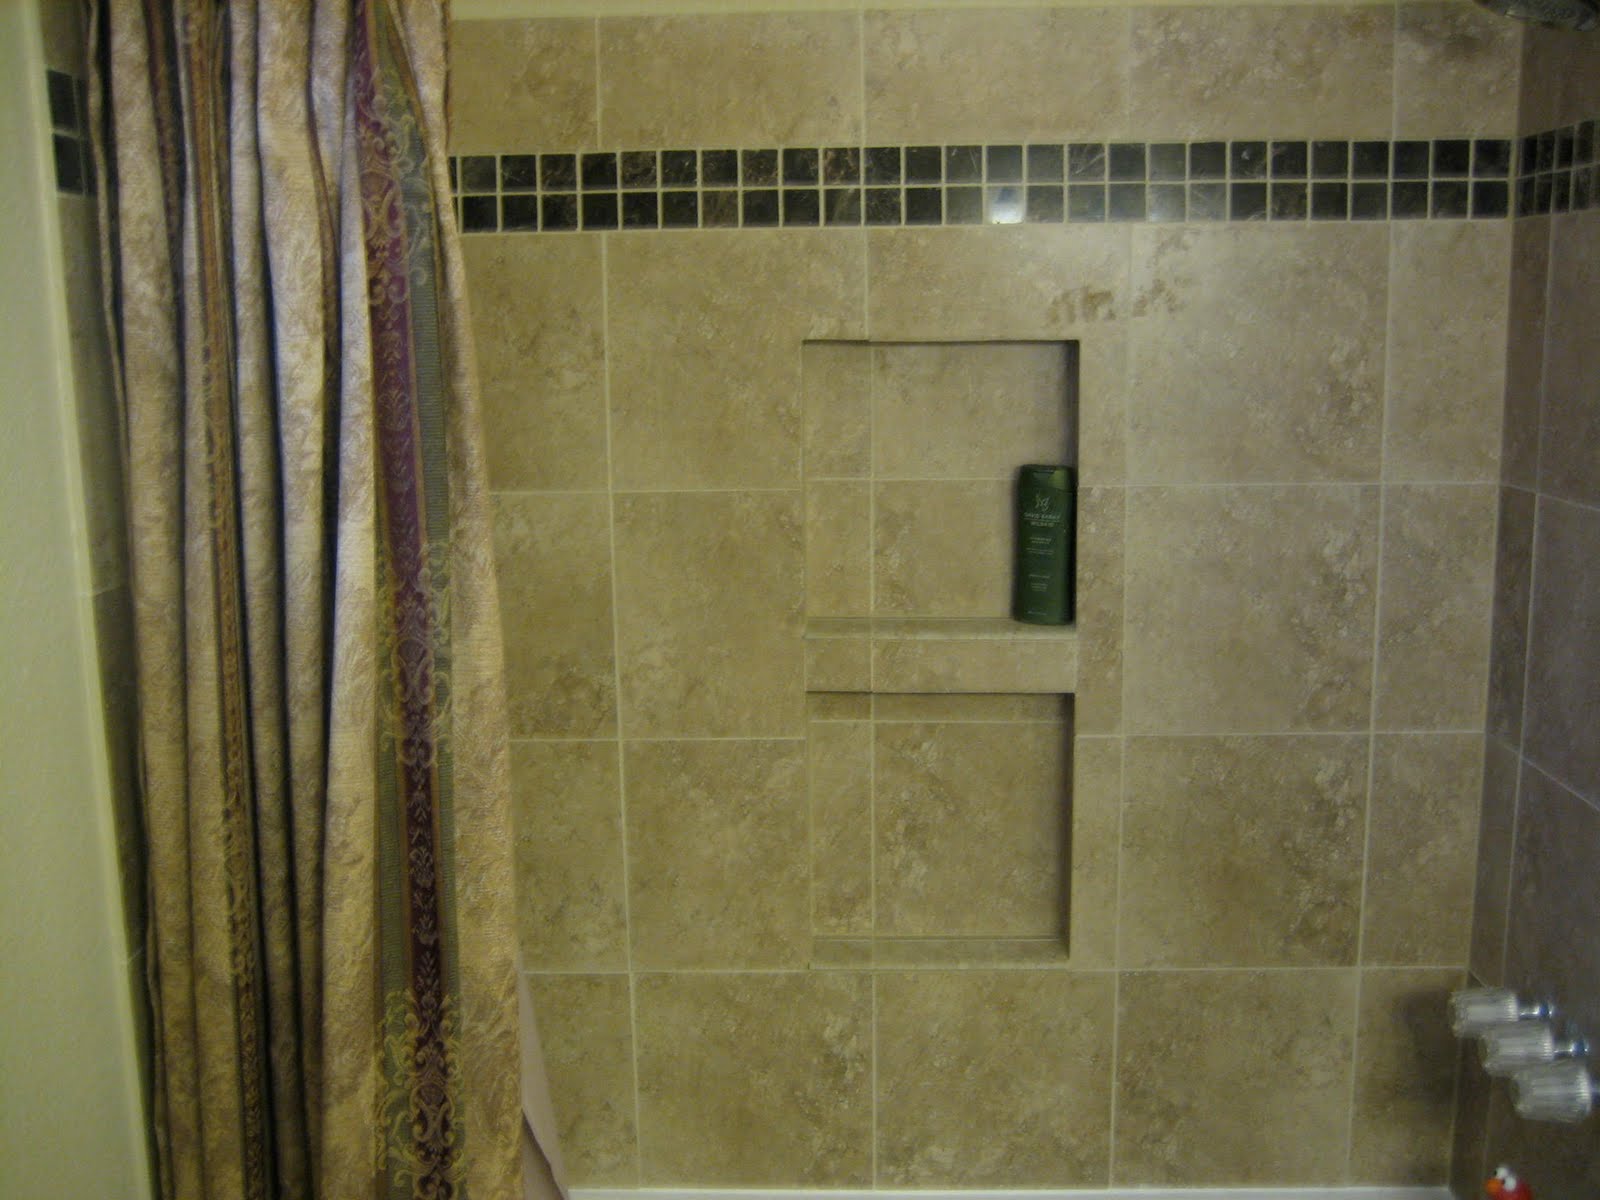
I forgot to mention after the tiling how to that you need to caulk around the shower when you're finished as you can see in that pretty white line around the tub.


We used a premium waterproof silicone kitchen, bathroom and plumbing caulk between the tub and the shower. We used an all purpose waterproof caulk along the edge of the shower and the wall. I hate to admit this, but I think these double shelves alone make this shower ten times better than our master bath!

Hi Elmo!

I also really love the rain shower in this bathroom. It has just the right amount of pressure and position. Yup, we both keep showering in here instead of ours... maybe it's just new :)


So there she be!

Our new guest bathroom.

Tuesday, August 24, 2010

Almost new cabinets

After the baby blue walls and light pink tile, the one thing that I was most anxious to part with from our inherited Easter themed bathroom were the boring old, marked up cabinets. The cost for a new double sink vanity and cabinets even with DIY installation would have been around $1500.

GASP!

Waaay out of our budget, so instead we decided to give our existing ones a face lift with quick sanding and paint job.
Which takes us to our first "how to" of bathroom remodel week....

Cabinet Remodel DIY

Step 1
Removed the cabinet doors and drawer covers from the vanity.

Step 2

Sanded the entire unit, doors and drawer covers with a 150 grit sand paper.I used an electric sander to speed up the quite tedious process, but had to switch to the old fashion way (my own two hands) to make sure I smoothed out ever nook and cranny.
The wood should feel completely smooth and free from any gloss or shine when it's sanded enough. Be patient and thorough, this step makes a huge difference later on!

Step 3
Use a damp towel to wipe down the unit, doors and drawers after you finish sanding until it's clean from any dust particles from sanding that will show through the paint.


Step 4
Slap on your first coat of paint making sure not to clump the paint in any of the corners or edges.

Don't forget to do the floor boards that go around the vanity!

Step 5
This step is the doosey! Back to the sanding...

Once the wood is coated with paint (might take two coats), re-sand the entire thing by hand this time using a 320 grit sand paper.

Ah! Are you kidding me?

Nope.

This will get rid of brush strokes and make the finished product much smoother and professional looking.


It'll also give you a chance to smooth out any of the corners or edges that the paint might have clumped in.

Step 6
Give 'em all one last coat of paint making sure your brush strokes go in the same direction.

Step 7
Put it all back together and admire you're almost new cabinets!

Unfortunately, this is all you can get for "after" shots, because we just can't spoil the whole package until we're completely done!


Total cost:
Less than $25 for 1/2 gallon of left over paint from our master bathroom remodel, brushes and sand paper.


Also...I'm too excited about this little story that I'll run the risk of bragging just a teensy bit here....

Last night, our neighbor, who happens to be a professional painter, came over to look at our progress last night. You see where this is headed right??

Guess what he asked us?

Where we bought our new cabinets from?!!

EEEE!!! He couldn't tell they were the old ones re-painted?! Best compliment ever without him even knowing it :)

Wednesday, July 28, 2010

Quillow Pack Tutorial


Ok, ok, twist my arm.
..


Of course I'll share my quillow pack tutorial with you!!

You guys knew all along that I'd post it whether you commented or not, but can you blame me for not so subtly trying to coerce you into leaving more comments???

I can't help it!

I just really love hearing from other people like what they think of my hair brained ideas or similar ideas of their own or even just how their day is going.

So please, please, PLEASE send me fun comments to read :)

Did you get that?

Ok, just checking!


Now, for the moment you all have been waiting for...
at least for the past 20 seconds after you clicked on this post

The 10 quick steps to your very own Quillow Pack (park date sold separately)

Materials
  • 1 1/2 yrds each of two coordinating fabrics for the back and front of the blanket (3 yrds total)
  • 1 1/2 yrds of fabric for the pillow casing and pack straps
  • 1 3/4 yrds of cording or ribbon to close the pack
  • Optional- extra scraps to make a front pocket on the sack
  • 2 1/2 hours uninterrupted sewing time.
Assume 1/4" seam allowance unless noted otherwise.
Measurements are for a 44" x 53" blanket that folds into an 18 " x 18" pack

Here we go!
Step 1
Measure and cut the following pieces of fabric:


Two large pieces of fabric 44 1/2" x 53 1/2"
Two 18 1/2" x 20" pieces of fabric for the pillow casing Two straps 2" x 27" for the pack straps and

one strip of fabric 1 1/2" x 18" for the draw string casing on the blanket


Step 2
Sew the 2 pillow casing pieces of fabric with right sides together and flip inside out.

Optional- sew a small pocket on one side of the pillow case. You can leave it open or close it with a button, but you should do these details now.

Step 3
Make a 1" casing for the draw string on the 20" side of the pillow casing by folding the edge down so that you end up with an 18" x 18" case.
The 1" casing will be the side farthest away from the edge of the blanket when you sew the pillow case on.

Step 4

Use the finished pillow case to trace the outline for the pillow case on the top center of the blanket piece that you would like to be the "bottom" side or the side that will touch the ground.
Next, make an additional line 1" below the bottom of the pillow case square for the draw string casing to close your sack.


Step 5

Fold the small strip of 1 1/2" x 18" fabric into a 1" wide casing (or wide enough for your ribbon, cording, draw string etc) along the bottom of the pillow case outline on the bottom blanket piece.
Don't forget to leave the ends open so you can run the draw string through!

Step 6
Sew the blanket pieces with right sides together on three sides first, leaving the 44 1/2" edge with your pillow case outline open.

Before flipping right side out again, sew 13" in on each side of the 44 1/2" open side, so that you have an 18" opening to flip the blanket right side out with right in the middle of the blanket where the pillow case will go.

Step 7

Make two 1 1/2" x 27" shoulder straps.

Tuck about 1" of the end of each strap inside the blanket at the edges of the pillow
case outline and pin in place.
Sew along the edge twice to secure each strap to the blanket. Once the straps are each sewn inside the blanket, close the rest of the blanket by sewing along the edge between the straps.

Step 8

Bring the other ends of the pack straps to the center of the pillow case outline along the edge of the draw string casing you created in Step 6. Pin them in place at an angle right in the center like so:

I went ahead and snipped off the tip of the triangle I created when I folded my strap at an angle. You don't have to re-hem, because it will be sewn over anyway.
Secure the straps by sewing over twice.

For now, Pin the straps along the center of the pillow case outline to keep them out of the way while sewing on the pillow case in the next step.

Step 9
Sew the pillow case onto the bottom of side of the blanket along three sides with the opening for the pack (the side with the draw string case) facing downward and unattached.
Don't forget to put the side you want to show on your pack face down so it's touching the shoulder straps. In this case I have my pocket side facing down, because that's what I want to be on the outside of my pack when I fold the quillow up.

Step 10
Use a safety pin to pull your cording, ribbon, string etc through the draw string casing on the pillow case and bottom side of your blanket.
Tie knots at the ends of the string to keep it from sneaking back into your casing.

Repeat for the front and pack casings


And that's all!

She's ready for testing.... Fold in thirds like I showed you with my first pack. Or by clicking here.
Does it work?

Great!

Onto phase II of the testing... pull the draw strings to close the pack and throw it onto your shoulders.
Does it fit?
Well... ok, so maybe mine wasn't designed for this size model, but you get the idea!


Last but not least, head to the park with your quillow pack full of all your park date essentials...

Don't forget the BUBBLES!!

The kiddos love this stuff, even if they can't quite figure out how to blow just right...

Btw, recognize the fairy ballerina dress Sienna's wearing? Yup, we can't get it off her....
Related Posts with Thumbnails