

We're getting ready for our big move and we've been fighting the inevitable questions like
Oh really and how long has it been since you fit in that?
College days are over... give up the holy t-shirt...
Come on, it's stained everywhere... call a rag when you see one!
Logically, given that we're in the middle of packing and moving a shirt with stains and a tiny little hole in the center like this should make the trash pile done and done...
 But... I like sewing quite a bit more than I like packing and cleaning... sooooo naturally I was thinking more along the lines of the endless refashioning potential!
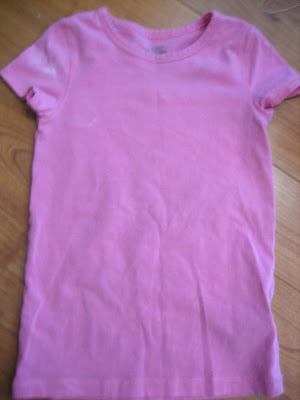
 Then I came across this unworn brightly color, but slightly plan t-shirt and thought hum, it's still mighty cold up in the northwest this time of year (where we are moving). Perhaps a long sleeve t-shirt would get more use.
And that's how these two babies mingle, mashed and blended into 2 beautiful "new" shirts!
 Shirt #1
 Shirt #2
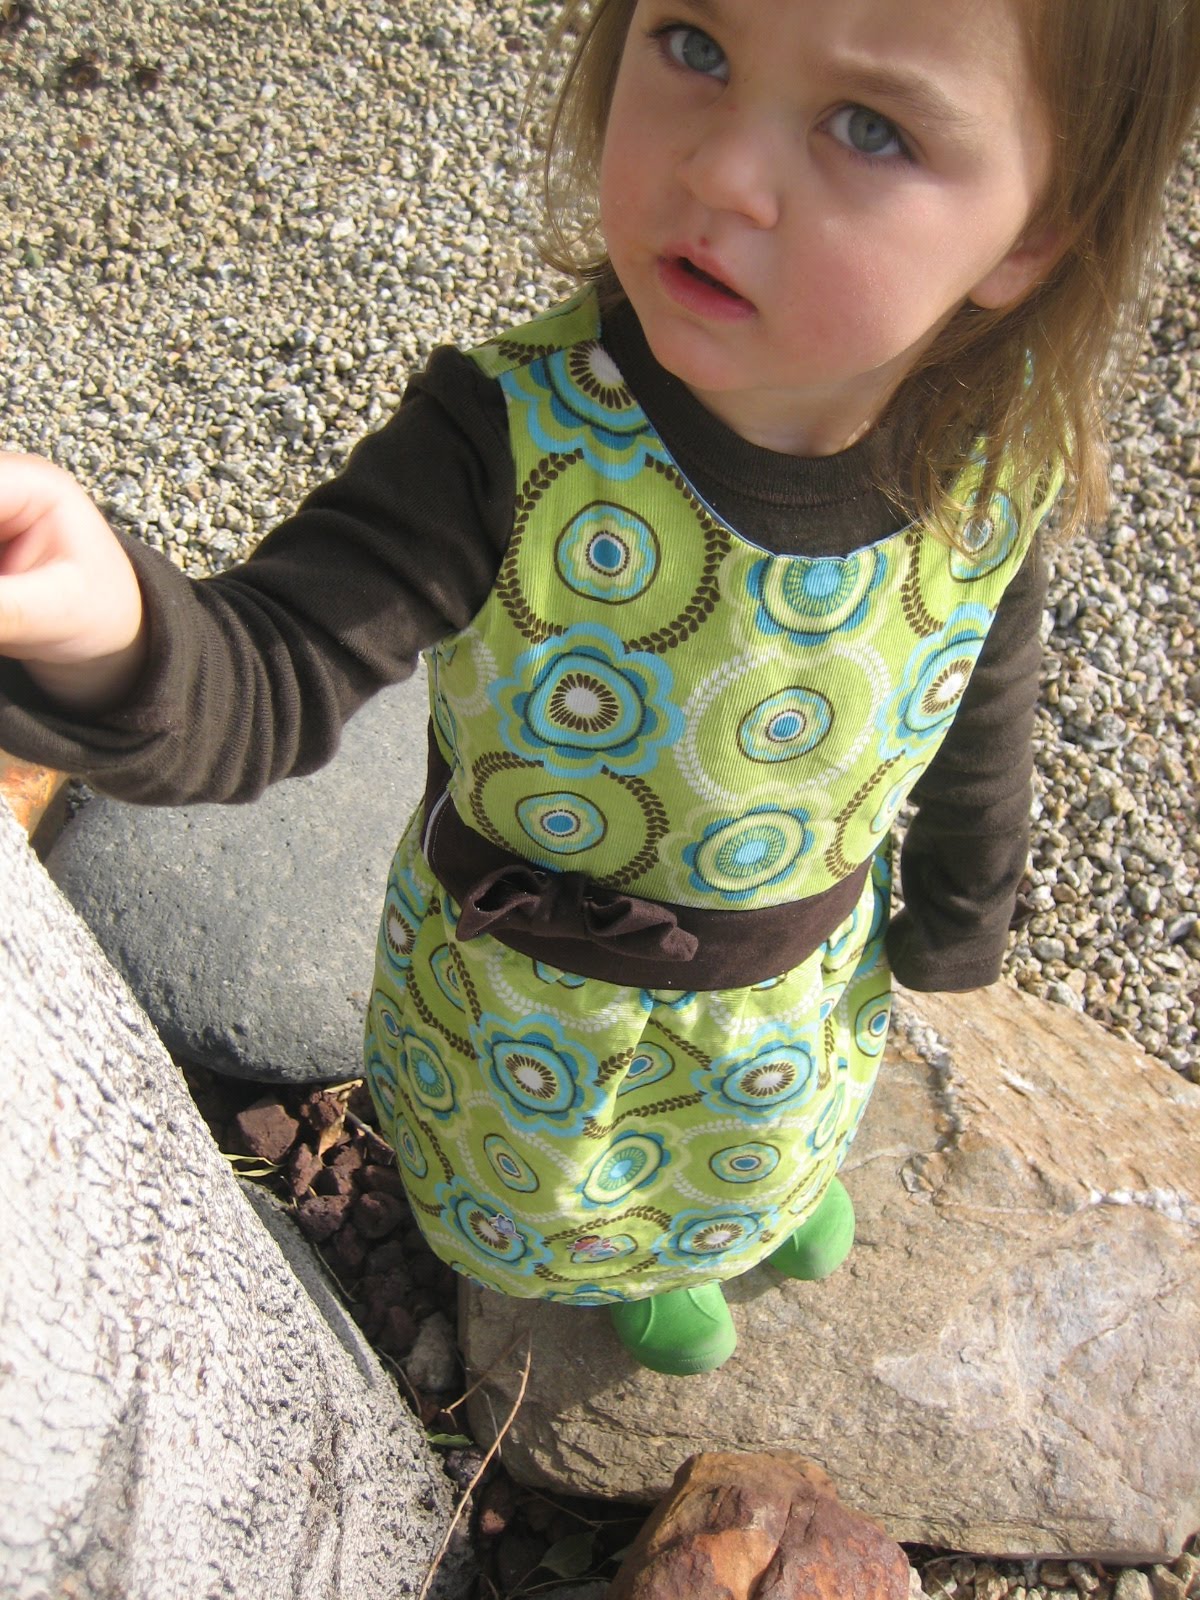
Ta-dah!!!
Adding sleeves to an regular tee is quick, easy and very functional especially when you're moving from Phoenix to Portland!

Wanna try???
First, I measured the length and circumference of the chunkiest part of Sienna's arm from the arm pit down to get the size of my sleeve strips. Measuring from the arm pit down is key here, because you'll be attaching the sleeve to the end of a short sleeve, not the shoulder.

Next, I cut the strips out of the bottom, using the natural hem of the t-shirt as the cuff of the sleeve. Then folded them in half and sewed a tube.

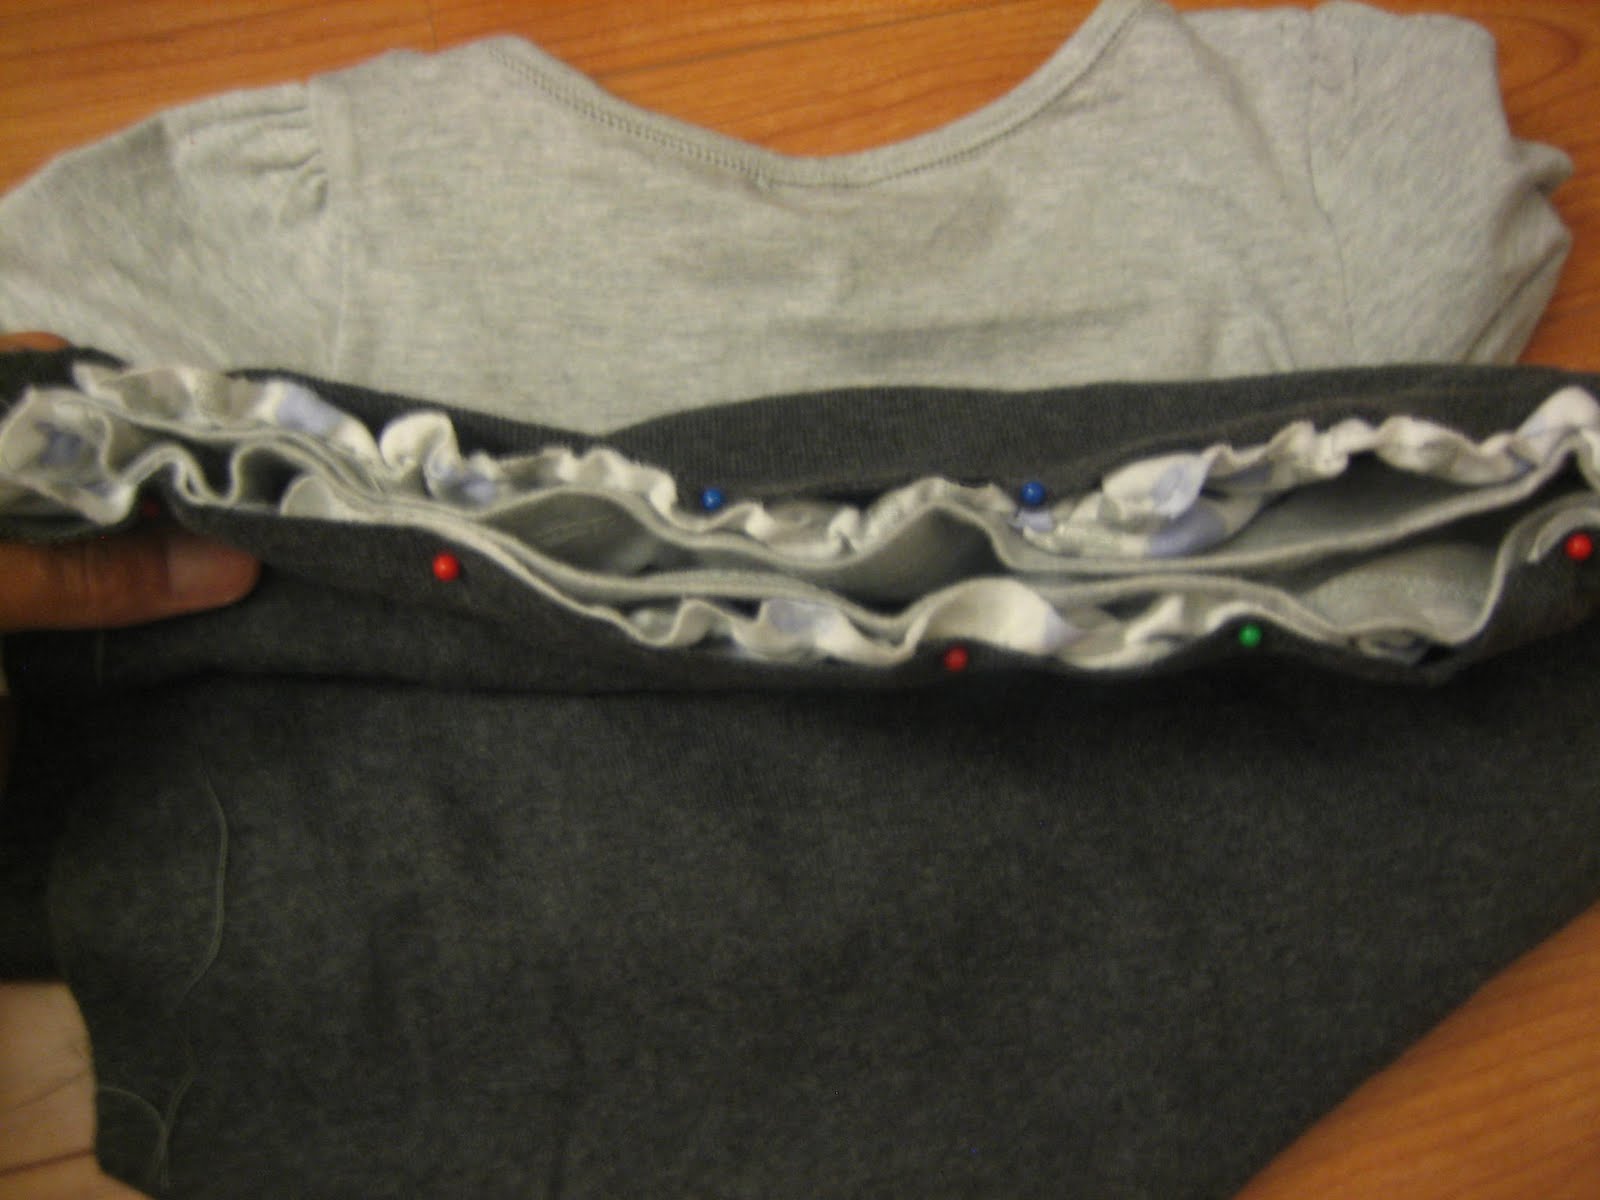
To attach the sleeves, I tucked my right-side-out tub through the armhole of the short sleeve shirt turned inside out.

Then pin all around making sure to line up the seams of the sleeves.

Carefully stretching from both sides as I sewed, I attached the long sleeve to the end of the short sleeve.

After those short 15 minutes or so I fold it right side out...

And there was my new long sleeve shirt!
Ha! What a walk in the park!
 Like this one :)
Now, I was left with a half of a shirt and just as I was about to toss it...
 Into my scraps bin (oh no, goodness sakes, not in the trash!), but yes, just before it hit that scraps bin I had an idea to refashion that part too into another dress/shirt!

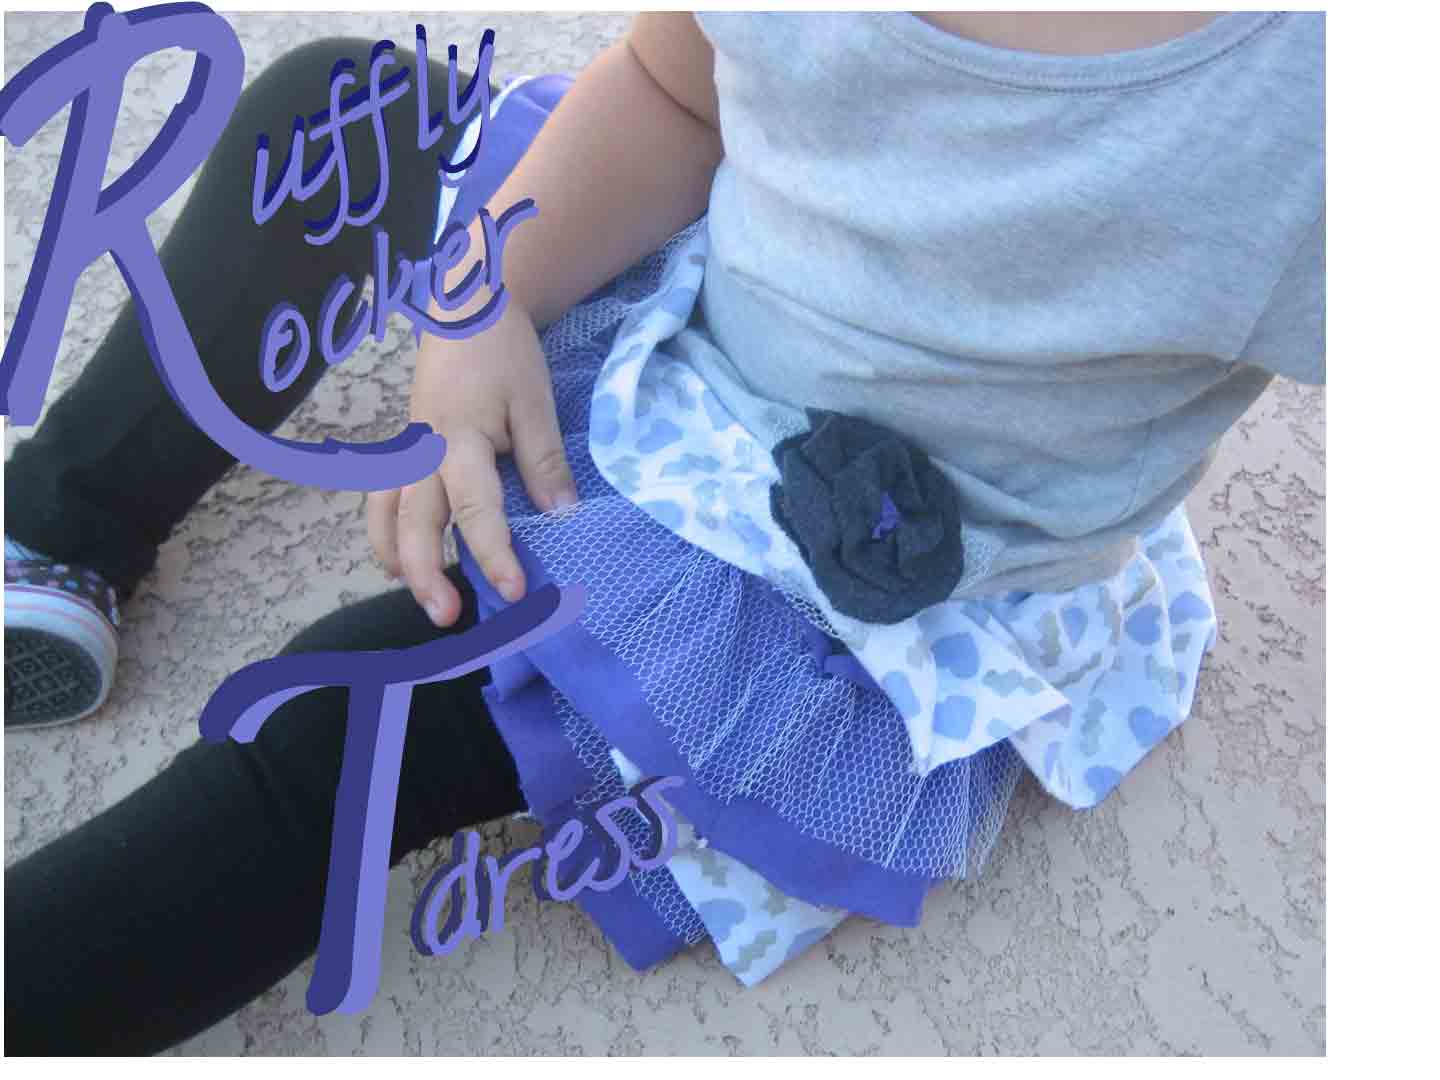
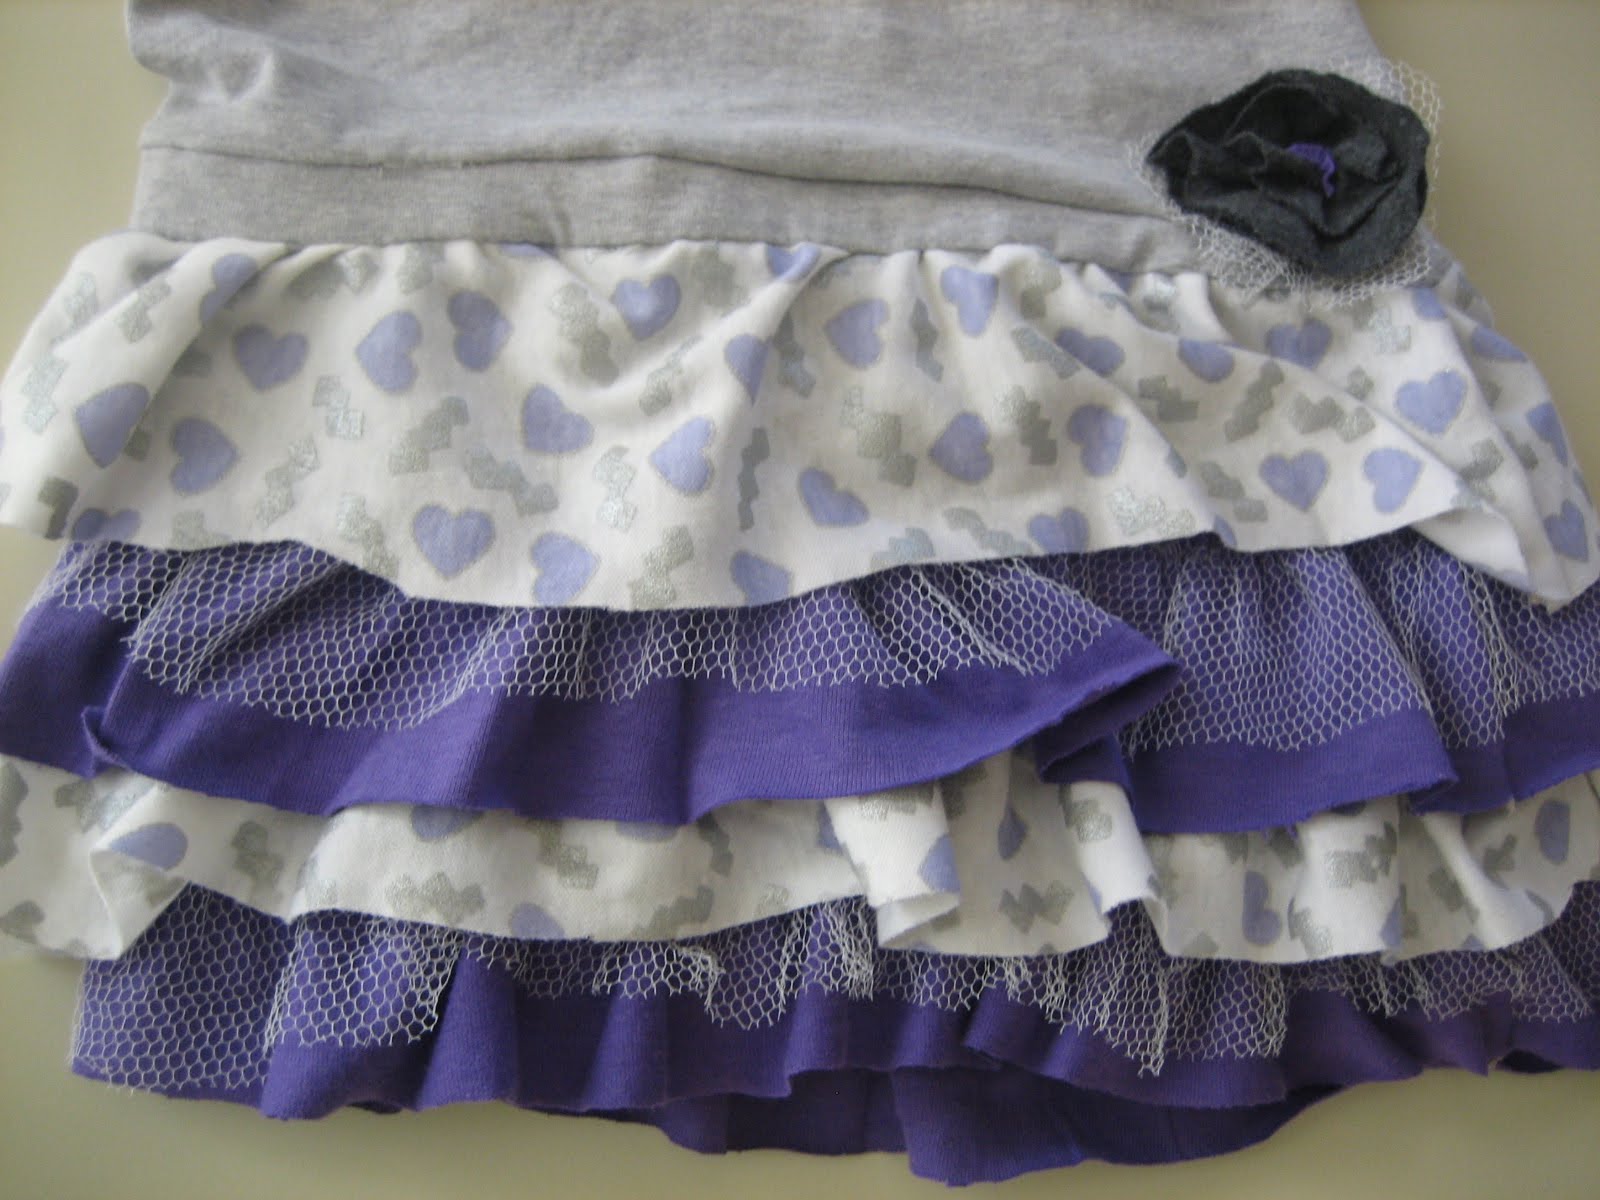
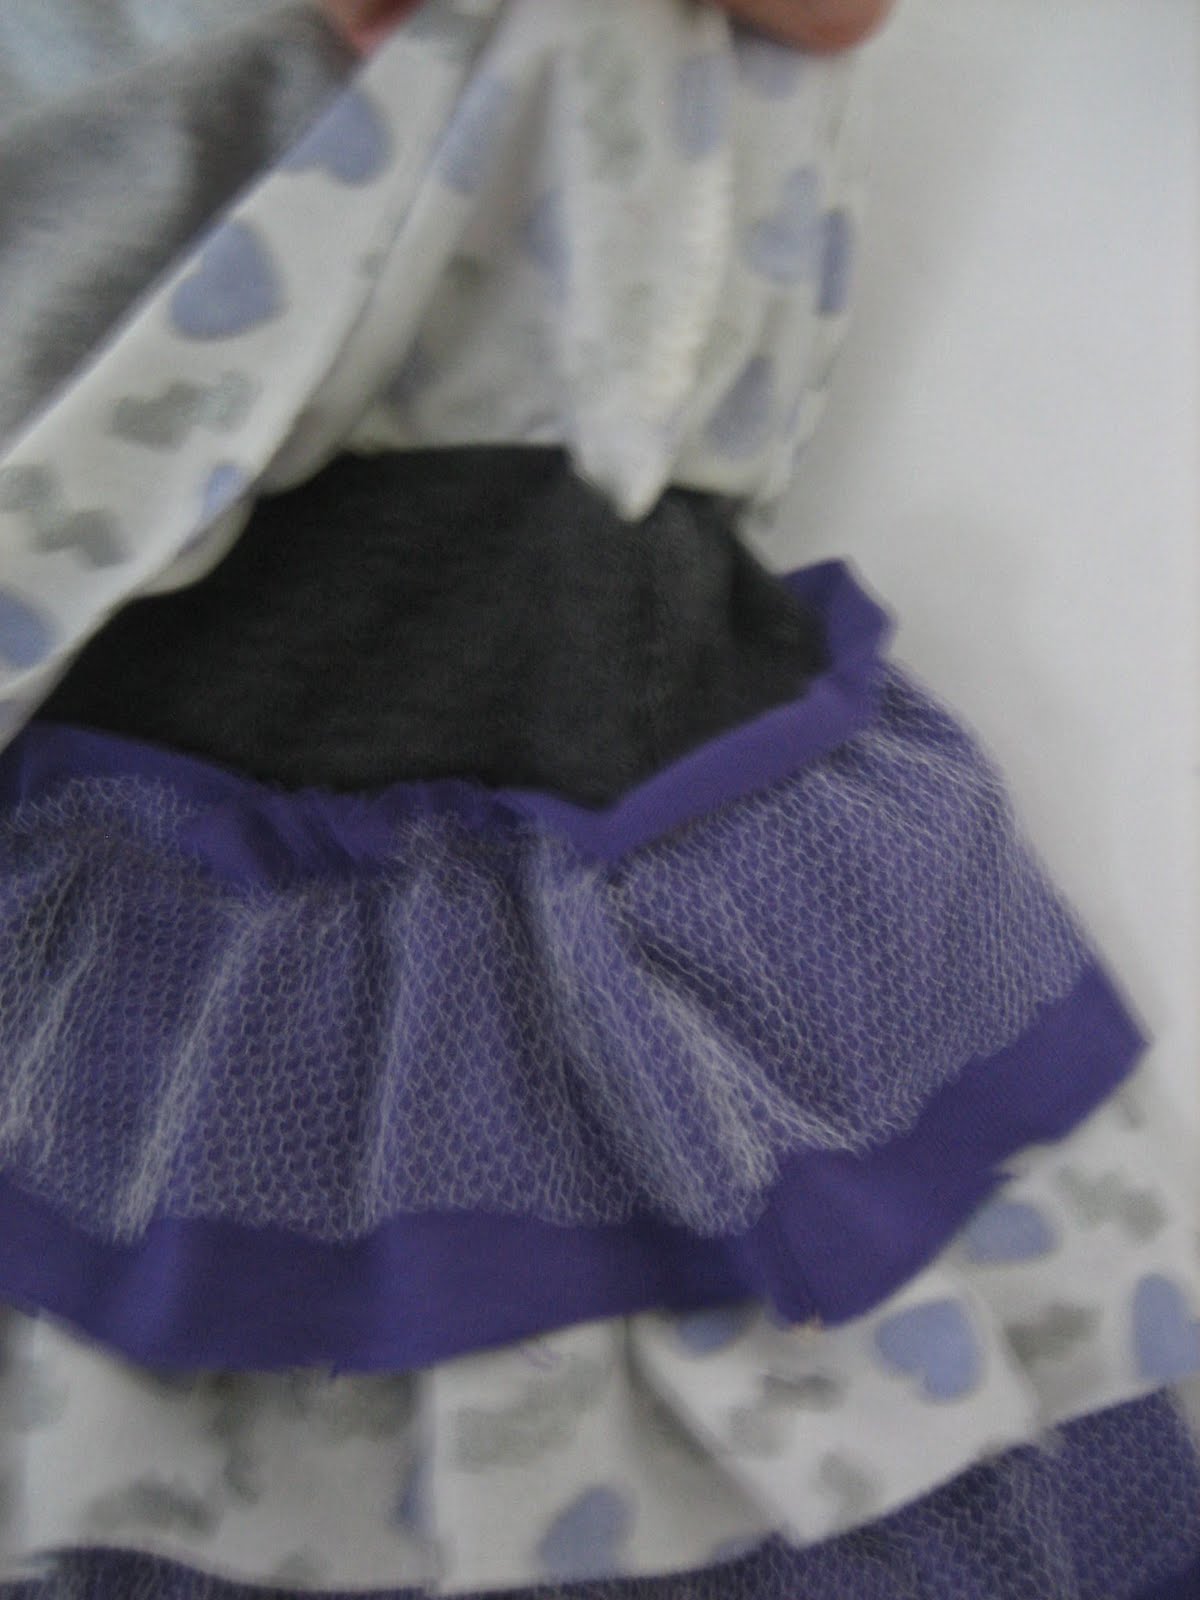
So I pulled out some other left over strips of pink and purple jersey fabric I just knew I should save and pieced them together to make a cute little tiered top!
 I still had the original problem of the stains and small hole in the shirt, so I used some other smaller scraps to make the waded flowers for the front and cut the shirt half slightly higher to take out the hole.

Almost PERFECT!!!
Almost is key here since I did have to fudge a little with the uneven sized scraps I was limiting myself to and the obvious fact that I really had to sneak in a few minutes here and there for this project while I was supposed to be packing not sewing :)
Shhhh... I still don't think the Mr. Seamstress knows I wasn't packing that whole time after all...
Should the case be taken to a jury think we'll just have to bring up the important facts here that I did save us money (which all husbands like), still finished my packing (which my husband mostly cares about) and even enjoyed myself just a little (favorite part of all)!!
Oh really and how long has it been since you fit in that?
College days are over... give up the holy t-shirt...
Come on, it's stained everywhere... call a rag when you see one!
Logically, given that we're in the middle of packing and moving a shirt with stains and a tiny little hole in the center like this should make the trash pile done and done...
 But... I like sewing quite a bit more than I like packing and cleaning... sooooo naturally I was thinking more along the lines of the endless refashioning potential!
 Then I came across this unworn brightly color, but slightly plan t-shirt and thought hum, it's still mighty cold up in the northwest this time of year (where we are moving). Perhaps a long sleeve t-shirt would get more use.
And that's how these two babies mingle, mashed and blended into 2 beautiful "new" shirts!
 Shirt #1
 Shirt #2
Ta-dah!!!
Adding sleeves to an regular tee is quick, easy and very functional especially when you're moving from Phoenix to Portland!

Wanna try???
Here's all I did:
First, I measured the length and circumference of the chunkiest part of Sienna's arm from the arm pit down to get the size of my sleeve strips. Measuring from the arm pit down is key here, because you'll be attaching the sleeve to the end of a short sleeve, not the shoulder.

Next, I cut the strips out of the bottom, using the natural hem of the t-shirt as the cuff of the sleeve. Then folded them in half and sewed a tube.

To attach the sleeves, I tucked my right-side-out tub through the armhole of the short sleeve shirt turned inside out.

Then pin all around making sure to line up the seams of the sleeves.

Carefully stretching from both sides as I sewed, I attached the long sleeve to the end of the short sleeve.

After those short 15 minutes or so I fold it right side out...

And there was my new long sleeve shirt!
Ha! What a walk in the park!
 Like this one :)
Now, I was left with a half of a shirt and just as I was about to toss it...
 Into my scraps bin (oh no, goodness sakes, not in the trash!), but yes, just before it hit that scraps bin I had an idea to refashion that part too into another dress/shirt!
So I pulled out some other left over strips of pink and purple jersey fabric I just knew I should save and pieced them together to make a cute little tiered top!
 I still had the original problem of the stains and small hole in the shirt, so I used some other smaller scraps to make the waded flowers for the front and cut the shirt half slightly higher to take out the hole.
Almost PERFECT!!!
Almost is key here since I did have to fudge a little with the uneven sized scraps I was limiting myself to and the obvious fact that I really had to sneak in a few minutes here and there for this project while I was supposed to be packing not sewing :)
Shhhh... I still don't think the Mr. Seamstress knows I wasn't packing that whole time after all...
Should the case be taken to a jury think we'll just have to bring up the important facts here that I did save us money (which all husbands like), still finished my packing (which my husband mostly cares about) and even enjoyed myself just a little (favorite part of all)!!


