Tuesday, December 21, 2010

Monkey see, Monkey love

And do ya blame me?!


When I saw Jess's clothes pin Christmas wreath tutorial from Craftiness Is Not Optional it was a done deal for me!

This was so quick and easy I couldn't believe it. I literally sprayed the pins while my kids played outside and they even helped me string the beads on the wire. This could be a great school craft project for kids to give to their parents... hum.... file that one away in my mental note box!


I did a few things differently than Jess, like spacing out the pins with 2 instead of one bead so the cards didn't overlap as much. I also didn't bother gluing... I might see why later, but it seemed to stay just find without it??

Hers looks fuller and a little better to be honest, but I didn't know how else to fit all these wonderful Christmas cards!


Speaking of which... I have a secret confession that I can now confess because it's completely a thing in the past....

I hate used to hate Christmas cards.

WHY?

Why would anyone "hate" Christmas cards.

One word:

c.l.u.t.t.e.r


What do you do with all those
lovely cards that collect in your "too nice to just toss out" pile?

Now I know!!!!!

And now I keep checking the mail obsessively hoping that we'll get more and more of them.

I love them so much now that I even, for the very first time since we've been married, sent out Christmas cards of our own with this cute Grinch smile from Sienna!


See :)

And because it's just me, I simply had to write a little poem to go with it.

Wanna read that too???

Of course you do or you would've stopped scrolling!


Twas a month before Christmas,

when all through the house not a Da Da was stirring, where was my dear spouse?

His boxers were hung by the laundry with care,

In hopes that I’d wash them for when he’s next there.


The children were nestled all snug in my bed,

While visions of sanity danced away from my head.

Two days had passed since he went on his way

to a new job in Portland, here with the children I stay.


When out on the lawn there arose such a clatter,

I sprang from the very far edge of the bed to see what was the matter.

Away to the window I flew like a flash,

To see a For Sale sign nailed down with a smash!


The bump on my belly of a new baby bro

Gave the lustre of change, much more than we know.

When, what to my wondering mind became clear,

that we’ll have 3 under 3! Oh me, oh my dear!


With a little walking Jonah, so lively and quick,

He’s all boy for certain, rough, tough and quite slick!

More fun with Sienna as she grows faster each day,

She tries hard to mirror mamma in every single way.


“No Sienna! No Jonah! Now Children please listen!

To sell this big house each corner must glisten!

To the park! To the zoo! Let’s get out of this place!

Can I do it? I must! Oh where’s my poker face??


And then, in a twinkling, I heard a small voice.

Your family and friends will help you;

for this just rejoice!

As I drew in my head, and wiped a small tear.

We have beautiful children & lots of reason to cheer!


So thanks to you all for the love and support,

We’re sad to leave Phoenix, our time was cut short.

But knowing the friendships we have just won’t end

A visit to Portland, may we subtly recommend???


You see... we have some big changes to announce this year, and you know, this Christmas card thing was a pretty convenient way to spread the word!

Thanks Jess for changing my heart about Christmas cards and for the great tutorial!


P.S. If you read this and think "HEY! Why didn't I get one this year? Well... this is my first year and I drastically underestimated how many I needed to order, so actually, only a very select few got them this time around. BUT, rest assured... there will be more. Oh yes, there will be more!

Monday, December 13, 2010

Easy Fairytale Princess Hat Tutorial

After seeing all those magical Disney princesses dancing around it's hard not pretending you're one too!

But even with the lovely little princess dress her mommy made her, she just seemed to be missing one very important thing....

A princess hat of course!

So I whipped one up in fairly or should I say fairy little time (wink, wink)


Wanna try?


Here's what you need:
  • A quilter's square of fabric (I used satin, but you can do whatever)
  • A matching square of strong interfacing or felt, or something thick to keep it up.
  • Ribbon or tulle
  • Elastic string
  • Optional ric rac or decorative trim
  • The usual sewing goodies

Here's what you do:


Step 1: Trace a basic cone

I used an old unfolded party hat to trace a basic cone shape and just made the top slightly taller to be more princess like.

You could kind of fudge this by making a semi-circle approximately the length of your child's head if you don't have a party hat to spare. The height doesn't really matter too much, but the taller you make it the harder it might be to stand up.


Step 2: Cut the fabric

Use your pattern to cut a cone shape piece of fabric and interfacing/felt. You'll end up with 2 pieces.

Step 3: Sew the interfacing and fabric together

Sew the interfacing and fabric together at the curve only. It helps to start in the center and sew in each direction.

Fold inside out to hide your seems. This is a good point to add any decorative trim or ric rac you might want to the rim of the hat.


Step 4: At the elastic string for a hat strap

Imagine the cone in 4 sections; you'll want to sew the elastic string from one end of the middle 2 sections to the other. In other words, just put it in the middle. But the sections helped me visualize exactly where when I was doing this :)

Sew those babies in place with a little back and forth stitching.


Step 5: Attach the ribbon and tulle

Place long strands of ribbon and tulle into the middle of the fabric side of the cone.

Fold the strands into the cone by folding the cone inside out, so the felt part is showing and the fabric part is on the inside. You'll want the long strands to go through the middle of the inside out cone and the ends just barely poke out of the top.


Sew the strands in place at the top by going back and forth a few times at the top side and tip of the cone.

Now go ahead and sew all the way down the cone to close the seam. I used a size 16, heavy fabric needle to go through all the layers. A straight stitch is fine here, but I went over it with a zig zag just to be sure it'll with hold the test of a 3 year old.

Snip off the little extra ribbon and tulle you have at the top...

Turn right side out and voila!


Or should I say...

Bippity Boppity Boo!


Her last princess dream comes true!

Ok, probably not last....

Let's just wait until she hears about prince charming.


But for now, princess friends is all this little lady cares about and thank goodness for that!

Wednesday, December 8, 2010

I know it's Christmas, but this is one amazing halloween costume

Ok, ok, how can I bring up Halloween at a time like this?

Well, when you have a really good reason like my friend, Mary's untouchable talent you just have to give your hat tips whenever you can.

All of her siblings pick a theme each year for Halloween and assign each niece/nephew to a character. When they decided on Alice In Wonderland this year Mary knew the older kids would quickly scoop up the "easier" or more popular costumes, but what she didn't expect was that her little man was going to instantly set his heart on the Caterpillar of all things!

If coming up with a 3T size Caterpillar costume wasn't enough of a challenge imagine sewing it literally 9 months pregnant!

And then realizing you're just going to need another costume for the new arrival!

....and then, actually pulling it off with a week to spare between delivery and Halloween...

A.M.A.Z.I.N.G

Hop over to her blog to see more pictures of the rest of the cast and the adorable themed party decorations they had to go with it!

Tuesday, December 7, 2010

Remember the magic

We're going where Daddy??!!
I'm too excited to sleep!!

And to be honest, so was Mommy!


It all started when Daddy decided one Monday morning that he thinks we need to go to Disneyland before Sienna turns 3 and needs a child's ticket. I agreed like a good wife to a constantly planning husband would thinking that we had a few months to go and sure, maybe it'd happen after the holidays. Little did I know he meant...

Let's go to Disneyland this very week!!

As in why aren't we packing yet?!

Hold the Dumbo ride! He means business!

So we called my Other Mother who lives a short drive from "the happiest place on earth" and asked if they had any plans that week. Of course she did, but since she loves us so much she rearranged everything so that 2 days later she not only let us stay at her house, they decided to come with us!!

Who can resist joining in on the first family trip to Disneyland??

We managed to go on the perfect day, with the perfect weather and almost absolutely no lines at all! Can you believe that?! The best part of all was the we had some extra help to trade off sitting with napping children tucked snuggly in their strollers while Mommy and Daddy dashed off to some rides all alone!


The gentleman that I married always makes sure I get to take the splash in the face on the Matterhorn, but I still love him.

You're probably thinking, Matterhorn?! Aren't you pregnant?! Uuhhhh, yeah, about that, I made sure to hold the baby belly on the turns....

I guess that's the difference between pregnancy #1 and #3!

Or maybe it's my daring personality and I just can't help but pass it along to my kids inside the womb and apparently outside as well....
Yup, that's our 2 1/2 year old on her first roller coaster!

She LOVED it.

I, on the other hand, have to say watching her on that ride was probably waaay worse for this pregnancy than any Disneyland level coaster I rode on. But, she loved it and still talks about it weeks later.

We met all of the princesses and characters who Sienna proudly tells any available warm body that she now personally knows. Funny that she recalls the encounter as such a time of bonding when she was clearly too star struck to make actual eye contact with the characters or with the camera...

You may think little Jonah was too young to enjoy this adventure, but I'd have to argue that it's a magical place to be for a toddler with new walking legs!

He was on a mission and had the walkers to take us with him!


No Jonah should go to Disneyland without meeting his famous whale!

I'm pretty sure he has no idea what a whale is yet, because I don't think he'd be smiling like this after a few more years worth of references to his namesake....

When we got home we asked Sienna what she thought of her
first and undoubtedly most spontaneous Disneyland trip...

I'm gonna guess that this smile means Disneyland definitely is the place where 2 year old dreams come true!

Thursday, December 2, 2010

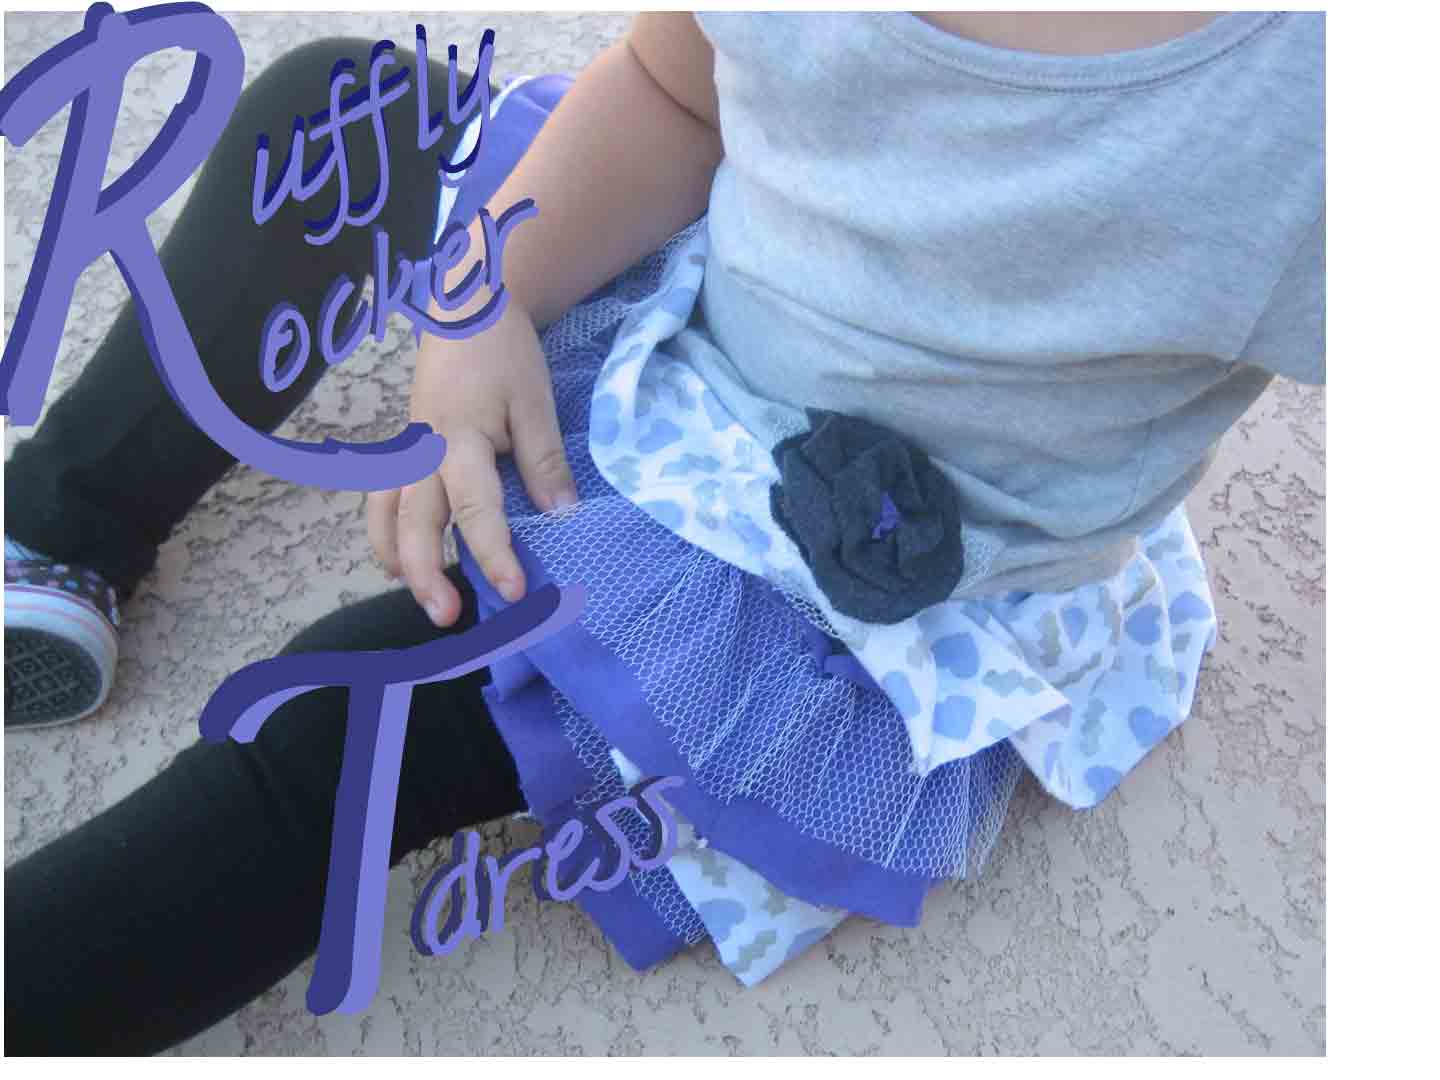
Ruffly Rocker T-Dress Tutorial

Ruffles and dresses??

Plus a t-shirt refashion??

yes please!

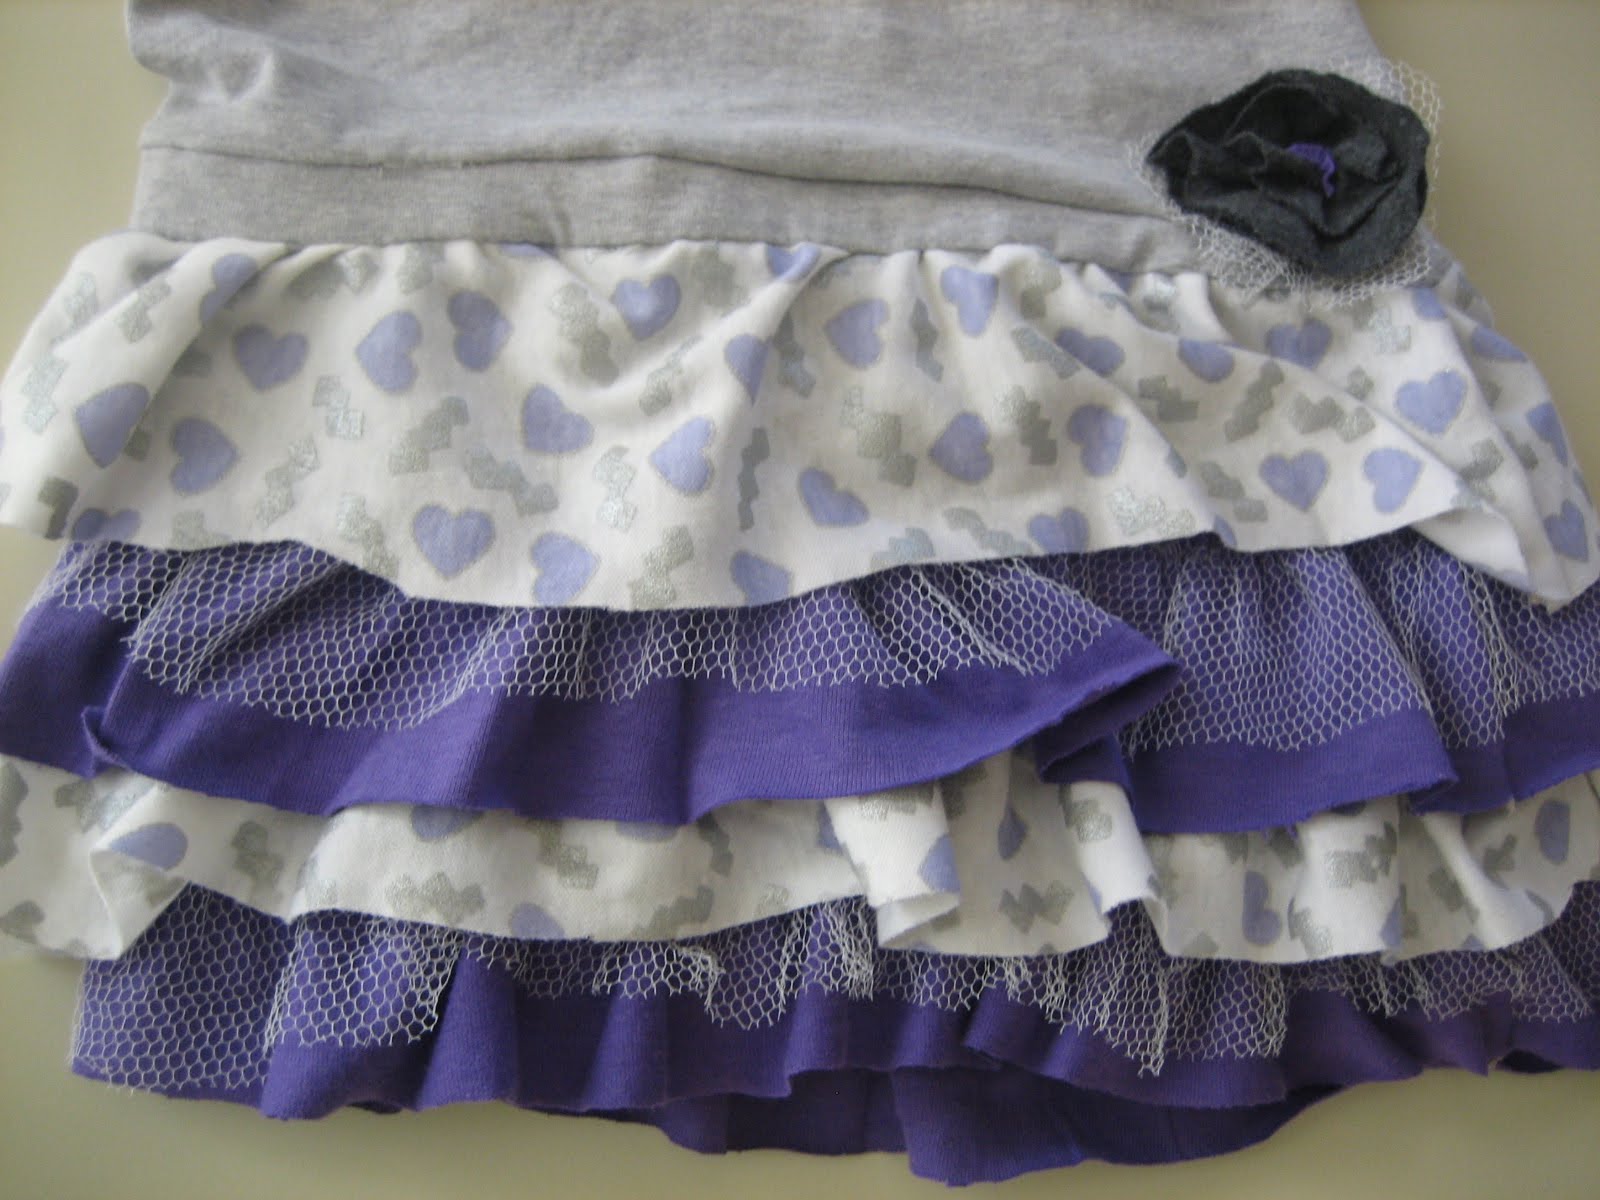
And as a bonus, look at all the rockin' 80's scraps that I got to use from my mom's fabric stash! I seriously remember picking out the hearts print when I was a little girl for a dress that I wanted!Even though my mom never got around to making me my lightening and heart dress, I think I'll forgive her and gladly steal it back to make a lovely dress for her lovely granddaughter. Fair is fair right?

I've seen these tutu dresses and ruffly shirt dresses all over the stores this season and I just love them! So here's my little mix of the two....


Wanna try??

Here's what you need:
  • Cotton/Stretch T-shirt
  • 1/2 yrd of stretchy or knit fabric for the base of the shirt
  • Long strips of coordinating fabric and tulle about 4" x 40"
  • Basic sewing essentials.. thread, pins, scissors, chalk, machine etc

Here's what you do:

Step 1- take measurements
Lay the old tee flat to measure the width of the bottom.


Step 2- cut out the base for the shirt part of the dress
Use the number you got in step one to cut the stretchy/knit fabric the same width. Old shirts work great for this if you don't have matching knit fabric around. Either way, make sure you cut the fabric after you've folded it over since you measured only one side of the shirt. The length is up to you. For a 4T dress I made mine about 10" long, but my little fashionista is tall like her momma.


Step 3- cut ruffles strips
In this case, I decided to go with 4 rows of ruffles, but you can easily adjust this by making each ruffle layer shorter or longer. For each row you'll want to cut a strip 1 1/2 times the total circumference (length around) your shirt.

Here's how you figure out what size strips to cut:

Shirt bottom measurement x 2 = total length around dress
13" x 2 = 26"

Total length around dress x 1.5 = length of strip to ruffle
26" x 1.5 = 39" but let's just call it 40" for a little wiggle room :)

For 4 rows of ruffles I made mine 4" wide. This gave me plenty of seam allowance and overlap room for my 10" long skirt portion.


Step 4- ruffle your strips
Ruffle your strips using the loosest settings on your sewing machine and gathering until they are the same length as your shirt bottom.


Step 5- sew your shirt bottom and first ruffle row to the shirt
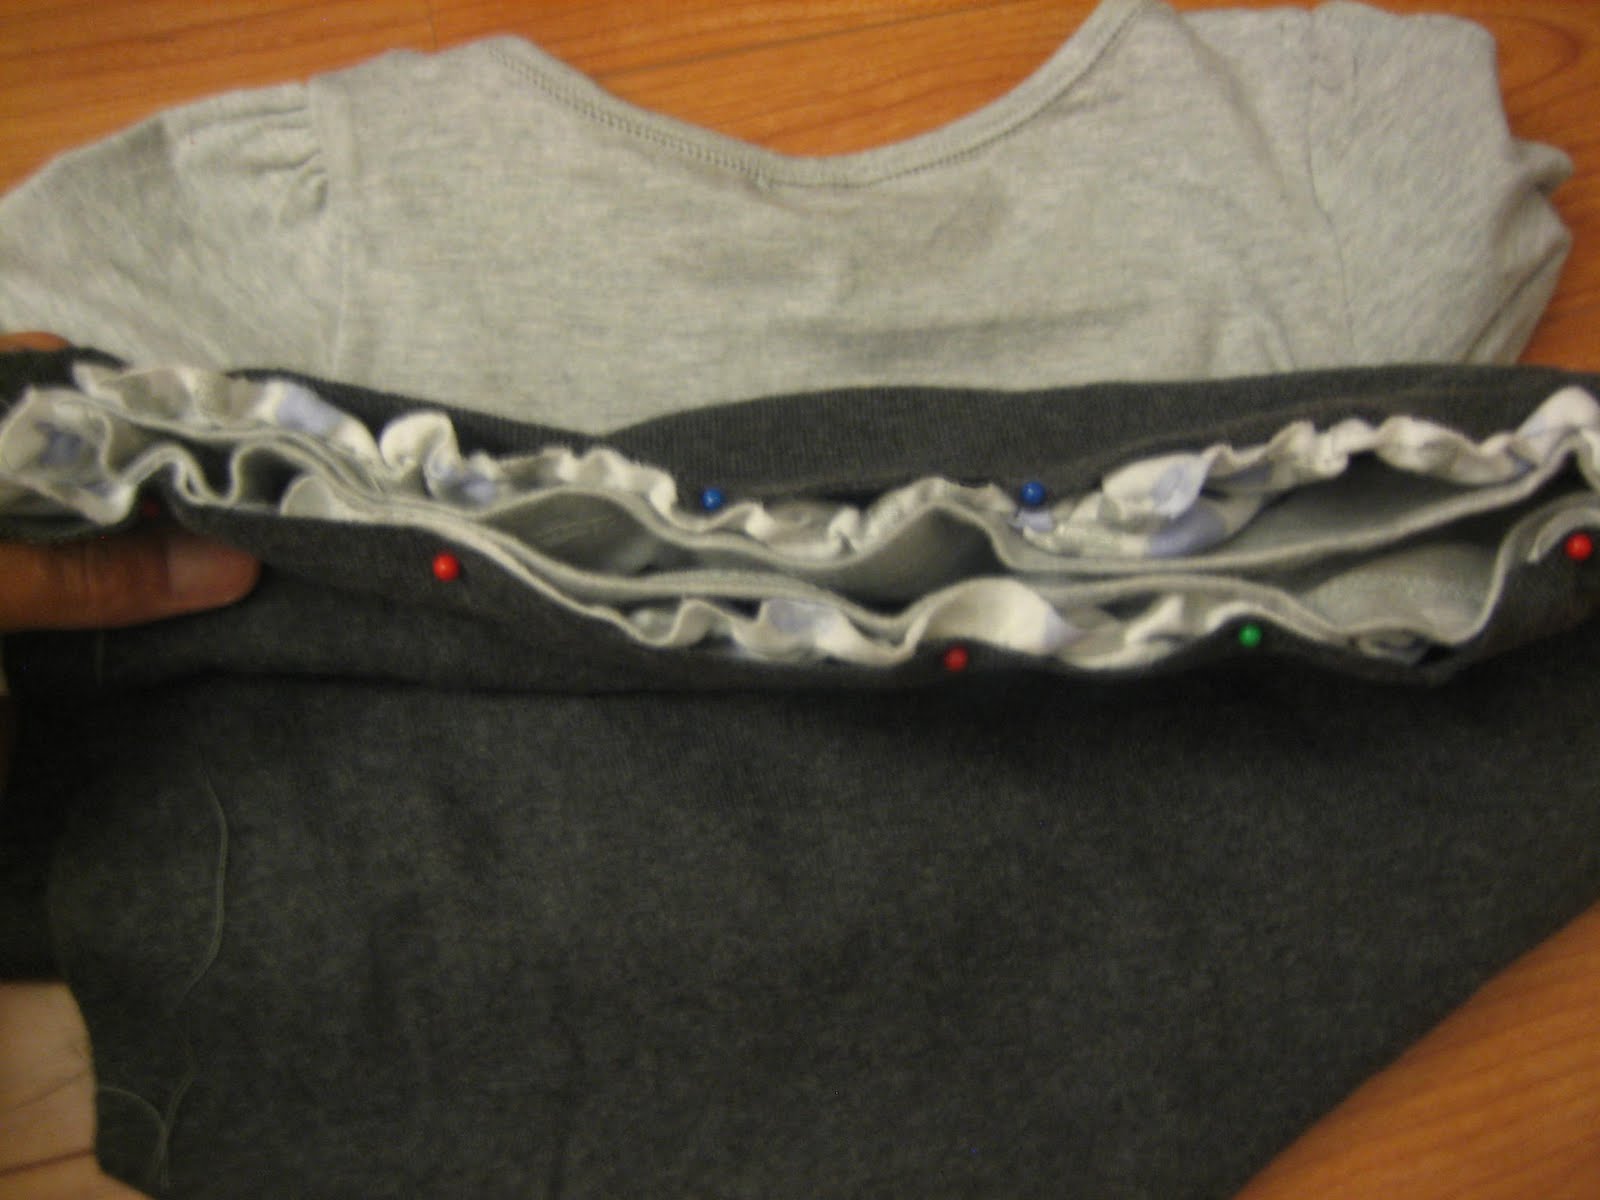
Wrap the ruffle strip around the bottom of your shirt folded right side out so that the same sides of the strip and the shirt are touching and the bottom of the ruffle ends with the bottom of the shirt.

Next, wrap the shirt bottom around the 2 layers so that the ends are the same length and pin it all in place.

Carefully sew all three layers together using the zig zag stitch on your machine and stretching slightly as you sew. Make sure you gently stretch evenly from both ends and you're not pulling at all.

Sew the sides of the skirt part together along the side as you normally would for any skirt or dress. Similarly, connect the ruffle row by sewing them together at the side.


Some of you might sew the ruffles together before attaching for a cleaner seam, but I prefer doing it this way so I can adjust the ruffles as I go until the very end.


Step 6- Mark off lines for each remaining row of ruffles

I spaced my ruffles out every 3 inches so that I would have about 1" overlap between each one.


Step 7- Attach the remaining ruffle rows
I like the rough around the edges look for this rocker dress, so I left the knitted edges unfinished for each layer since they won't fray.

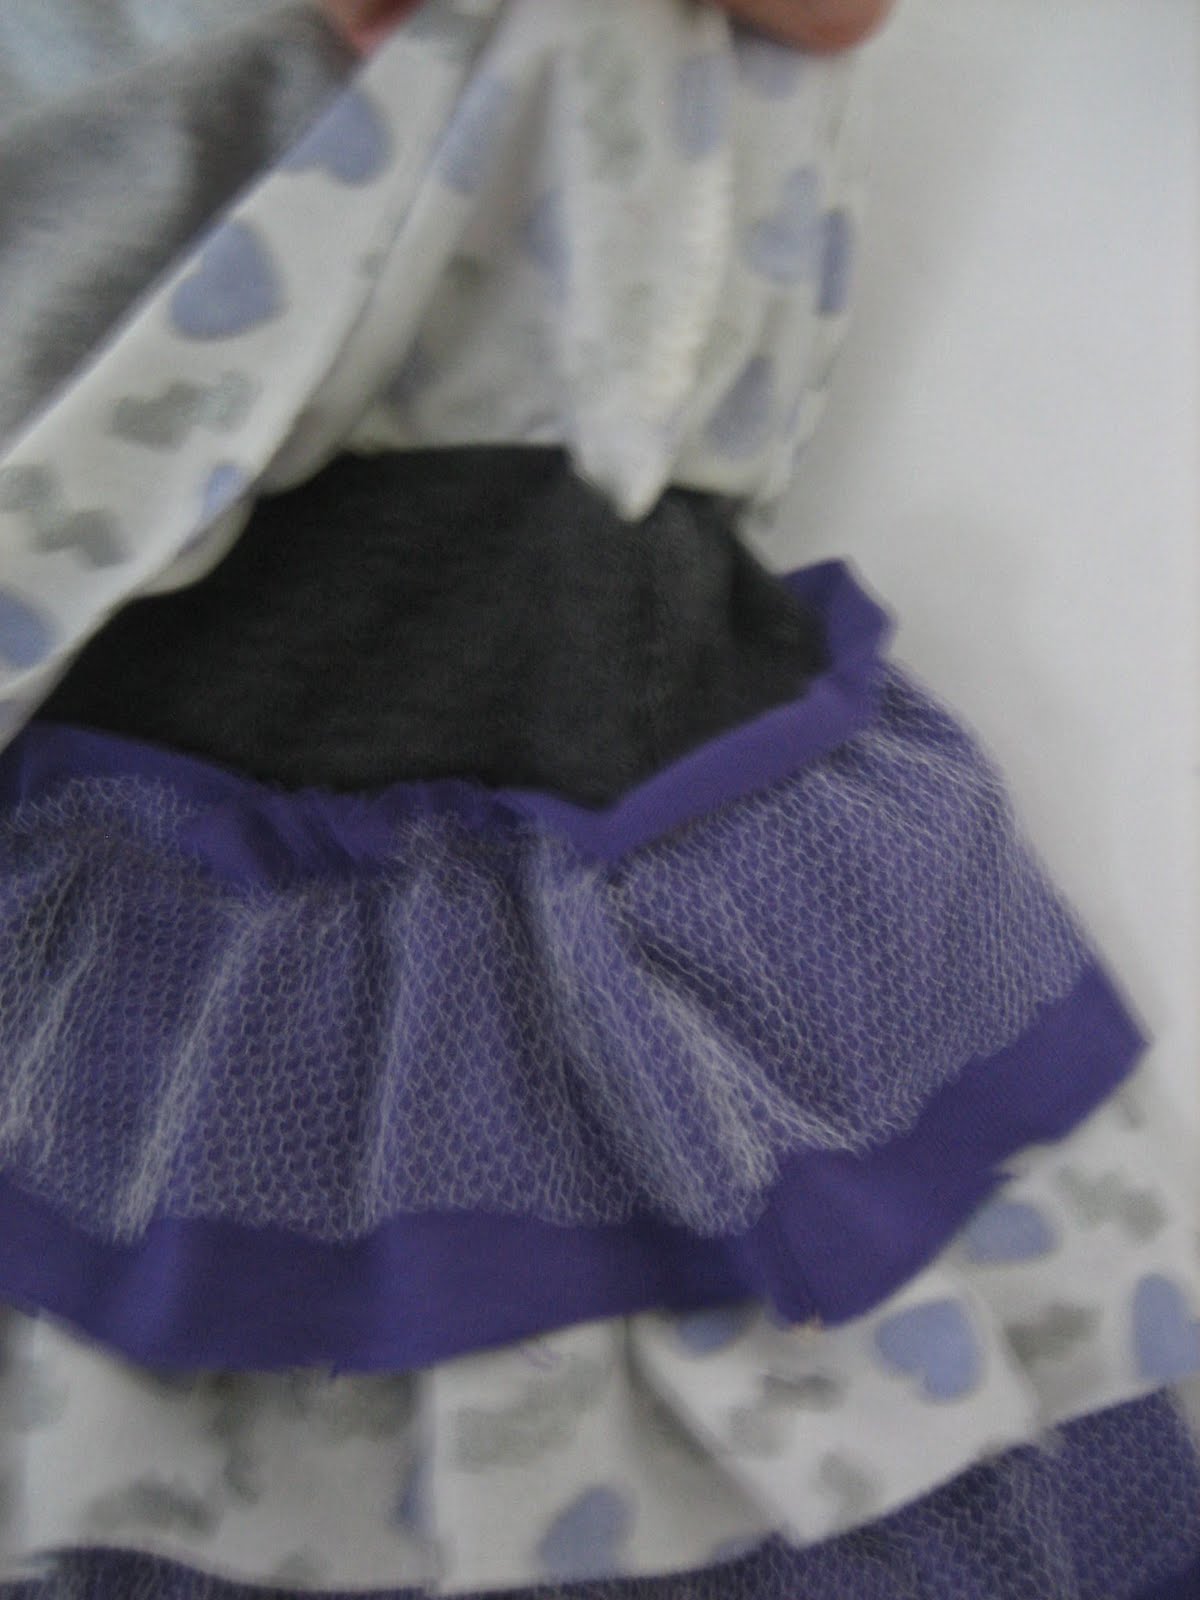
I also sewed the bottom ruffle layers directly onto the bottom skirt part with the top exposed since no one will see it and it won't fray either! Easy peasy!


Step 8- Finish 'er off with a decorative flower or bow
I used the scraps of the scraps to make a little flower for the side to blend the colors and break up the dress a little.


She loved it!

Now, you might not believe this, but the hardest part of the dress came after I finished sewing it...

Let me tell you, trying to describe "rocker" to someone whose musical plate mostly comprises of Rafi and Disney sing-a-longs was a little interesting. When she started dancing around like a ballerina I couldn't decided if I made progress or not...

But when she interpreted my rocker signing as roaring like a tiger was when I really knew I was a lost cause...

Eh, oh well, so clearly Mommy was never much of a real rocker herself...

Maybe we both can at least look cute dressed up as one from time to time!


Related Posts with Thumbnails