Ruffles and dresses??
 Plus a t-shirt refashion??
yes please!
 And as a bonus, look at all the rockin' 80's scraps that I got to use from my mom's fabric stash! I seriously remember picking out the hearts print when I was a little girl for a dress that I wanted!
 Even though my mom never got around to making me my lightening and heart dress, I think I'll forgive her and gladly steal it back to make a lovely dress for her lovely granddaughter. Fair is fair right?
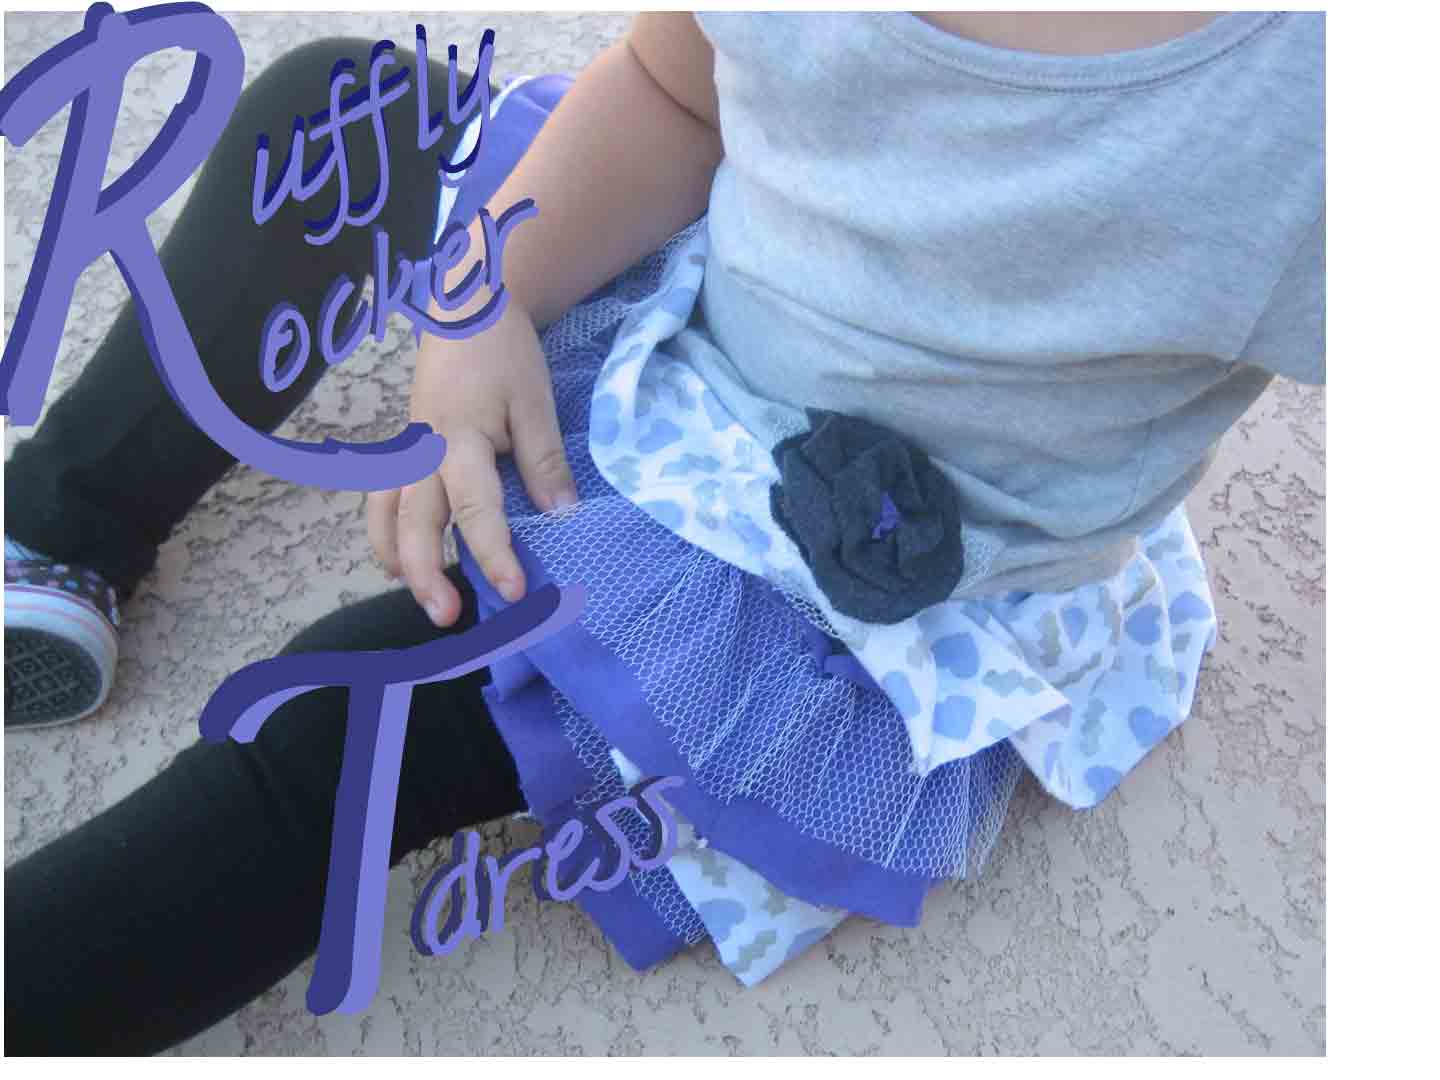
I've seen these tutu dresses and ruffly shirt dresses all over the stores this season and I just love them! So here's my little mix of the two....
Wanna try??
Here's what you need:
- Cotton/Stretch T-shirt
- 1/2 yrd of stretchy or knit fabric for the base of the shirt
- Long strips of coordinating fabric and tulle about 4" x 40"
- Basic sewing essentials.. thread, pins, scissors, chalk, machine etc
Here's what you do:
Step 1- take measurements
Lay the old tee flat to measure the width of the bottom.

Step 2- cut out the base for the shirt part of the dress
Use the number you got in step one to cut the stretchy/knit fabric the same width. Old shirts work great for this if you don't have matching knit fabric around. Either way, make sure you cut the fabric after you've folded it over since you measured only one side of the shirt. The length is up to you. For a 4T dress I made mine about 10" long, but my little fashionista is tall like her momma.

Step 3- cut ruffles stripsIn this case, I decided to go with 4 rows of ruffles, but you can easily adjust this by making each ruffle layer shorter or longer. For each row you'll want to cut a strip 1 1/2 times the total circumference (length around) your shirt.
 Here's how you figure out what size strips to cut:
 Shirt bottom measurement x 2 = total length around dress
13" x 2 = 26"
Total length around dress x 1.5 = length of strip to ruffle
26" x 1.5 = 39" but let's just call it 40" for a little wiggle room :)
For 4 rows of ruffles I made mine 4" wide. This gave me plenty of seam allowance and overlap room for my 10" long skirt portion.Step 4- ruffle your stripsRuffle your strips using the loosest settings on your sewing machine and gathering until they are the same length as your shirt bottom.
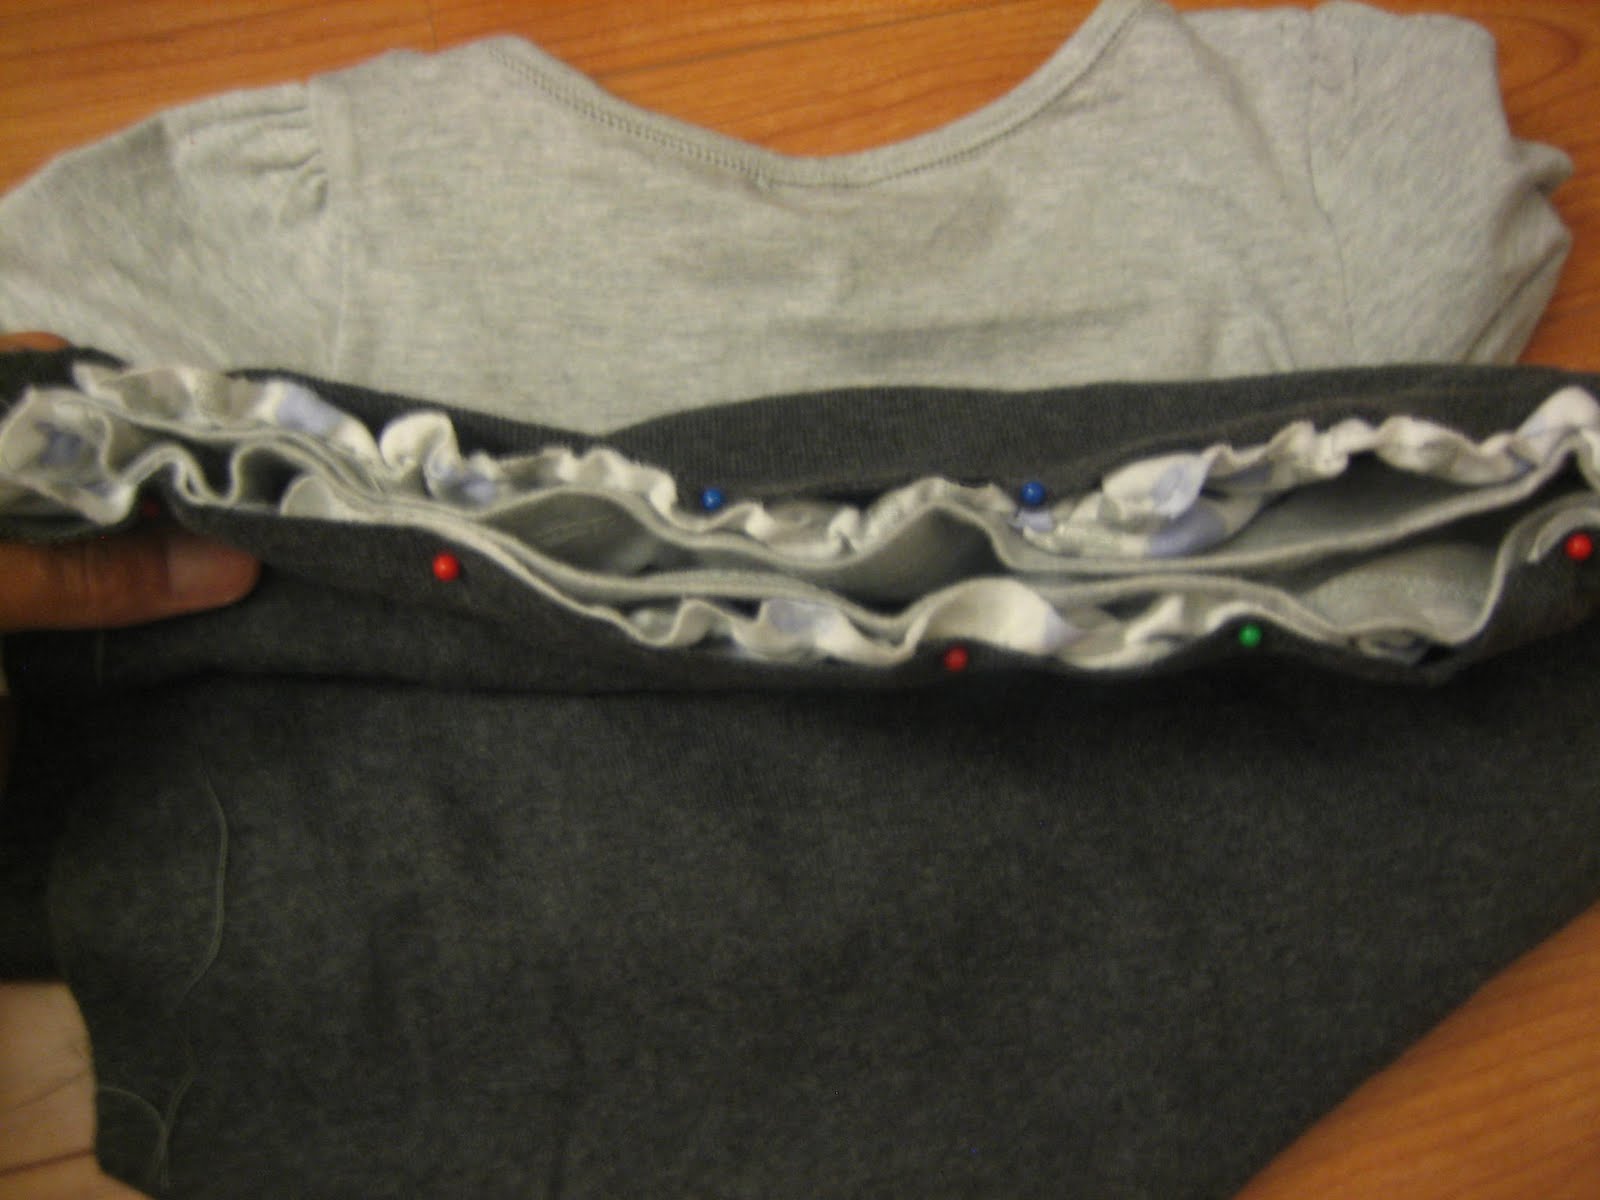
Step 5- sew your shirt bottom and first ruffle row to the shirt
Wrap the ruffle strip around the bottom of your shirt folded right side out so that the same sides of the strip and the shirt are touching and the bottom of the ruffle ends with the bottom of the shirt.
 Next, wrap the shirt bottom around the 2 layers so that the ends are the same length and pin it all in place.
 Carefully sew all three layers together using the zig zag stitch on your machine and stretching slightly as you sew. Make sure you gently stretch evenly from both ends and you're not pulling at all.
Sew the sides of the skirt part together along the side as you normally would for any skirt or dress. Similarly, connect the ruffle row by sewing them together at the side.  Some of you might sew the ruffles together before attaching for a cleaner seam, but I prefer doing it this way so I can adjust the ruffles as I go until the very end.
Step 6- Mark off lines for each remaining row of ruffles
 I spaced my ruffles out every 3 inches so that I would have about 1" overlap between each one.
Step 7- Attach the remaining ruffle rows
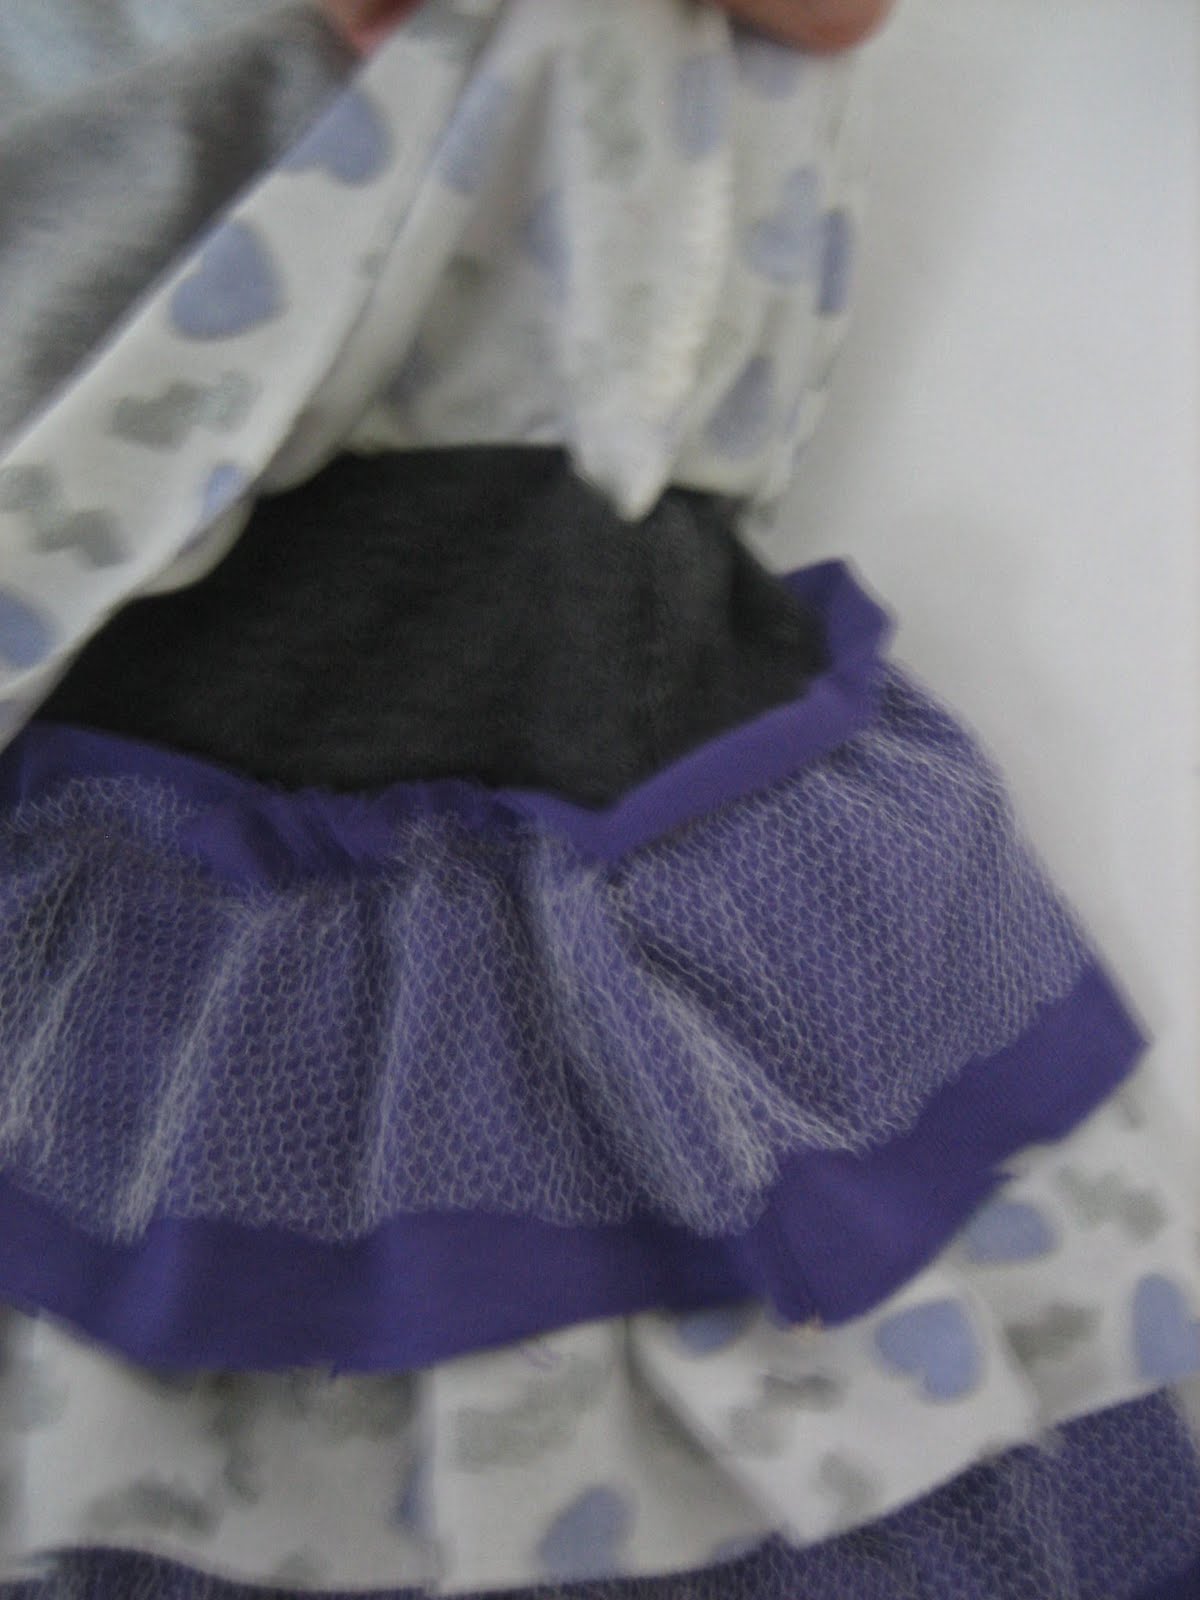
I like the rough around the edges look for this rocker dress, so I left the knitted edges unfinished for each layer since they won't fray.
 I also sewed the bottom ruffle layers directly onto the bottom skirt part with the top exposed since no one will see it and it won't fray either! Easy peasy!
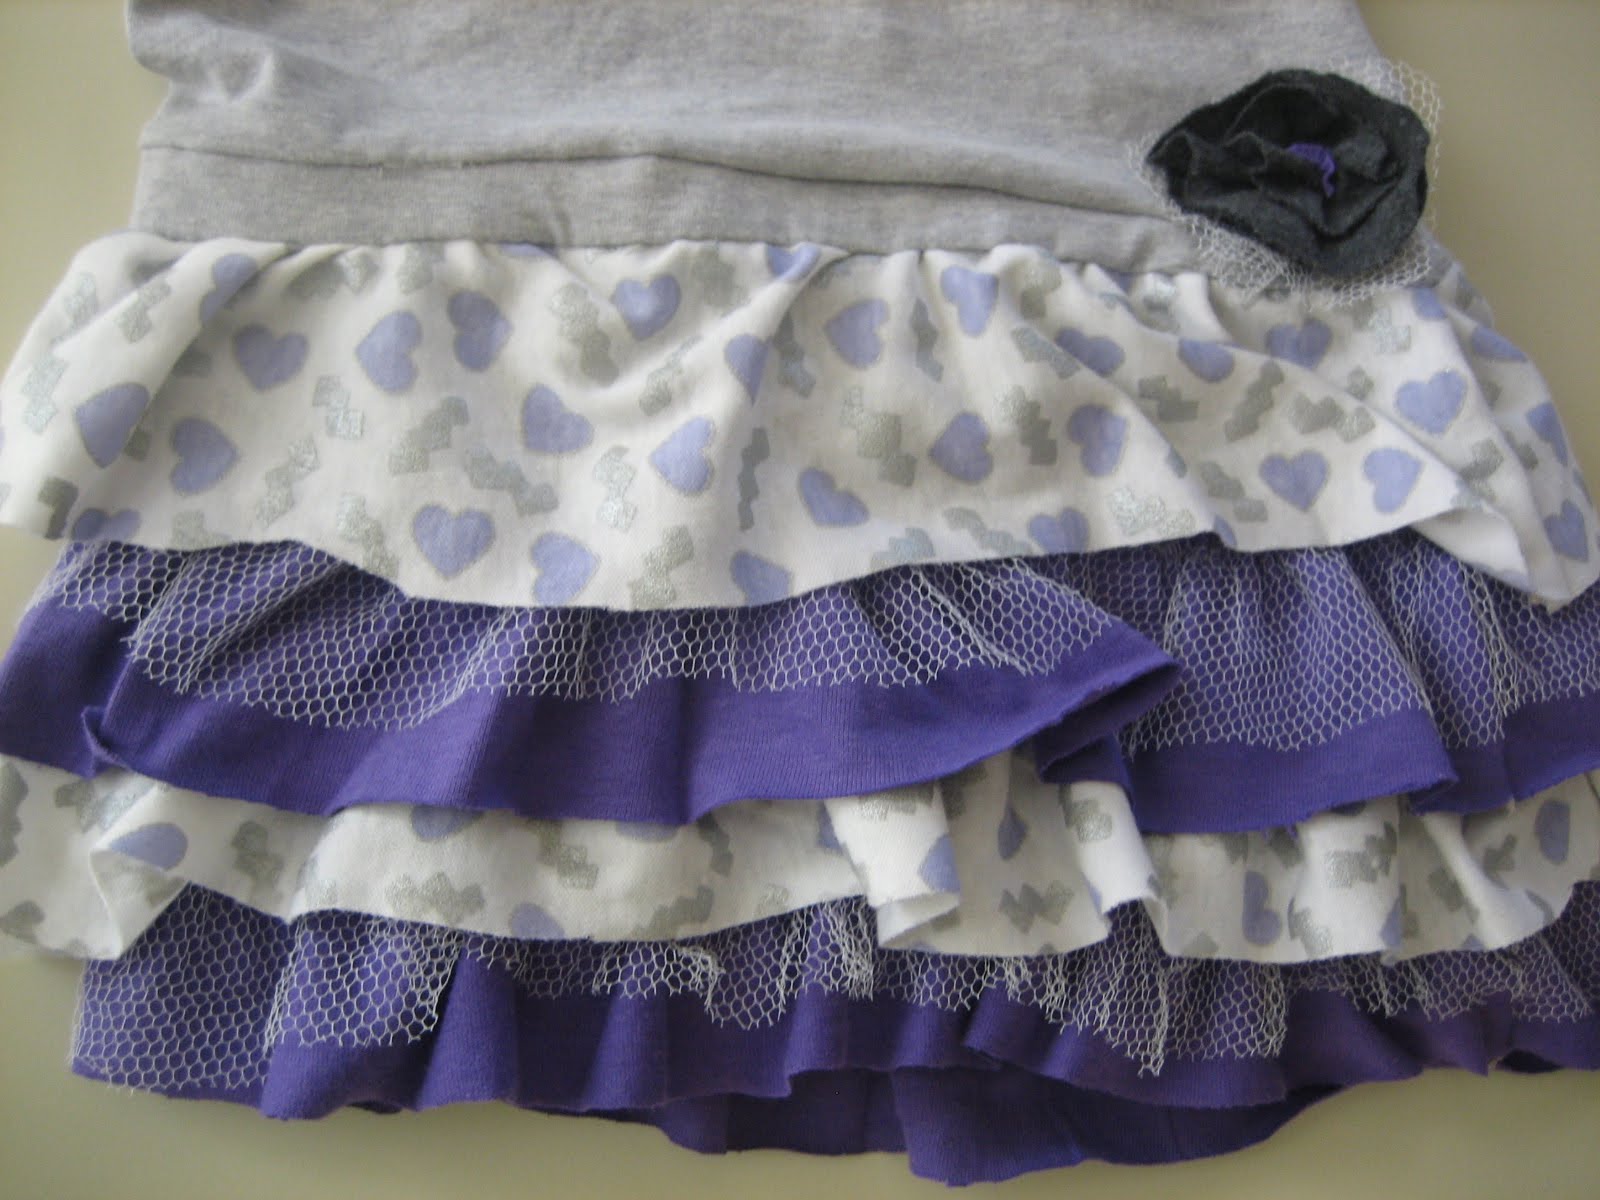
Step 8- Finish 'er off with a decorative flower or bow
I used the scraps of the scraps to make a little flower for the side to blend the colors and break up the dress a little.

She loved it!
Now, you might not believe this, but the hardest part of the dress came after I finished sewing it...
Let me tell you, trying to describe "rocker" to someone whose musical plate mostly comprises of Rafi and Disney sing-a-longs was a little interesting. When she started dancing around like a ballerina I couldn't decided if I made progress or not...
But when she interpreted my rocker signing as roaring like a tiger was when I really knew I was a lost cause...

Eh, oh well, so clearly Mommy was never much of a real rocker herself...
Maybe we both can at least look cute dressed up as one from time to time!


 Well, when you have a really good reason like my friend, Mary's untouchable talent you just have to give your hat tips whenever you can.
 All of her siblings pick a theme each year for Halloween and assign each niece/nephew to a character. When they decided on Alice In Wonderland this year Mary knew the older kids would quickly scoop up the "easier" or more popular costumes, but what she didn't expect was that her little man was going to instantly set his heart on the Caterpillar of all things!
 And then realizing you're just going to need another costume for the new arrival!
 ....and then, actually pulling it off with a week to spare between delivery and Halloween...


